How to Clear an Incident on Share911
How to clear an incident on Share911 / Share999 depends on what type of alert was issued or notification was sent. Even though Broadcast Alerts, Emergency Check-ins and Notifications are sent to users the same way (as a push notification, text and/or email), they are, in fact, different and need to be cleared in different ways. A Broadcast Alert is sent on the Broadcast page, an Emergency Check-in is sent on the check-in page and a Notification is sent on the Notify page. Below we discuss how to clear each type of incident.
How to Clear a Broadcast Alert
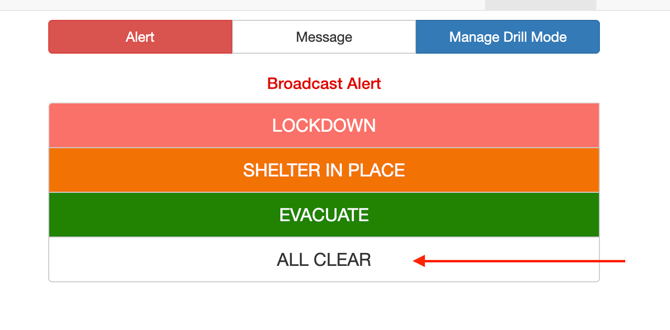
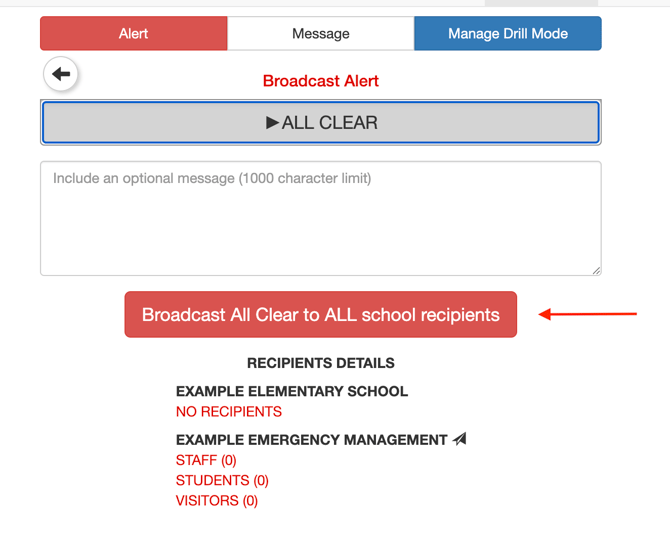
After an alert is issued and the emergency is completed, authorized members of your channel, or a member of a public safety agency, can issue an All Clear on the channel. This is done within the Broadcast feature. Select All Clear Alert and then Broadcast All Clear. Ideally, an All Clear should be issued as soon as the incident is completed.
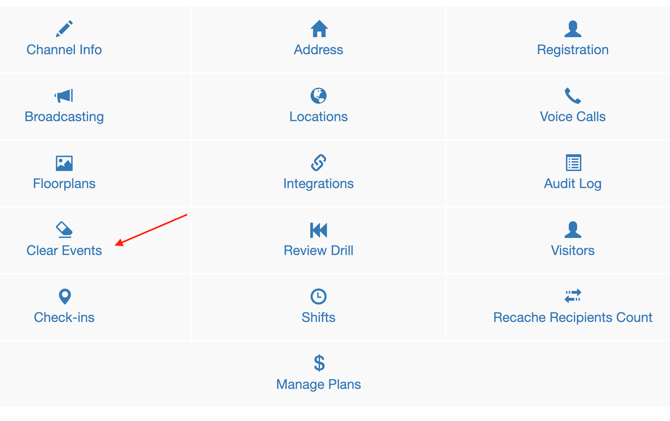
Occasionally, for one reason or another, an All-Clear is not issued and the alert remains active on your channel after the incident is over. In this case, you can either manually clear the incident by going to Manage Channel and selecting “Clear Events” or you can wait for the system to reset overnight, thereby clearing the alert.
*Please note that to be able to clear an incident in Manage Channel, the user needs to have “Manage Channel” and Broadcast Alert permission.
How to Clear an Emergency Check-in
When a member of your staff makes an emergency check-in, such as a threat nearby or a medical emergency, the red box containing the notification on the LiveView page will remain on this page until it is manually removed. It can be removed in one of two ways:
-
The individual who made the emergency check-in can change his or her status to secure; or
-
An authorized member of your channel can go to Manage Channel and select “Clear Events.”
How to Clear a ”Security/Assistance Needed” Emergency Check-in or Notification
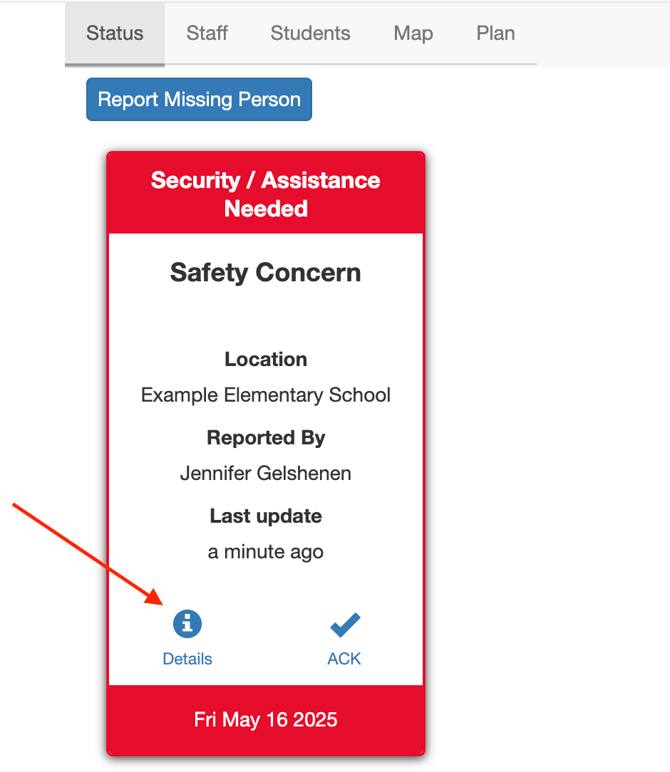
When someone checks-in as “Security/Assistance Needed,” the emergency check-in appears as a notification. See Share911 / Share999 Notify to learn how to send a notification.
Like other notifications, you clear the incident by clicking on details and then the blue box that says “Update Incident” when the notification has been opened.

Then click "Update."
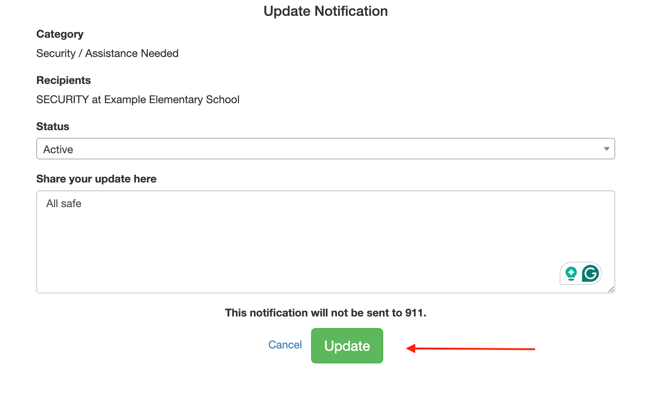
Please note that to be able to update a notification, you need to have “Create Notification” permission. Thus, the person who made the Emergency/Assistance Needed” check-in most likely would not be the same person who will clear the incident.