Description
This article outlines the steps needed to enable Single Sign On (SSO) between Share911 and OKTA via SAML 2.0. SSO integration means that staff will be able to use their existing company password and authenticate with your organization's existing OKTA system to gain access to Share911.
Staff will still be required to create a Share911-specific password when enrolling so that they will have access when outside the corporate network.
Pre-requisites
You will need to have one user already created in Share911 with Manage Channel permissions on your organization's top-level channel.
Outline
1. Access your top-level channel Integrations page in Share911
2. Create a Share911 application in OKTA
3. Assign Users to Share911 app in OKTA
4. Enter OKTA-specific information into Share911
5. Ensure Registration email domain is set properly in Share911
Walkthrough
1. Access your top-level channel Integrations page in Share911
First let's log in to Share911 with our administrator account. We should see multiple channels, including our organization's top-level channel. For example, if our normal channel is found at "https://share911.com/acme/hq" then our top-level channel will be found at "https://share911.com/acme".
If you do not see your organization's top-level channel, please contact support@share911.com and we will help you gain access.
Next, we can navigate to the "Channel Integrations" page, by clicking on our name in the top right, then Manage Channels, and Integrations.
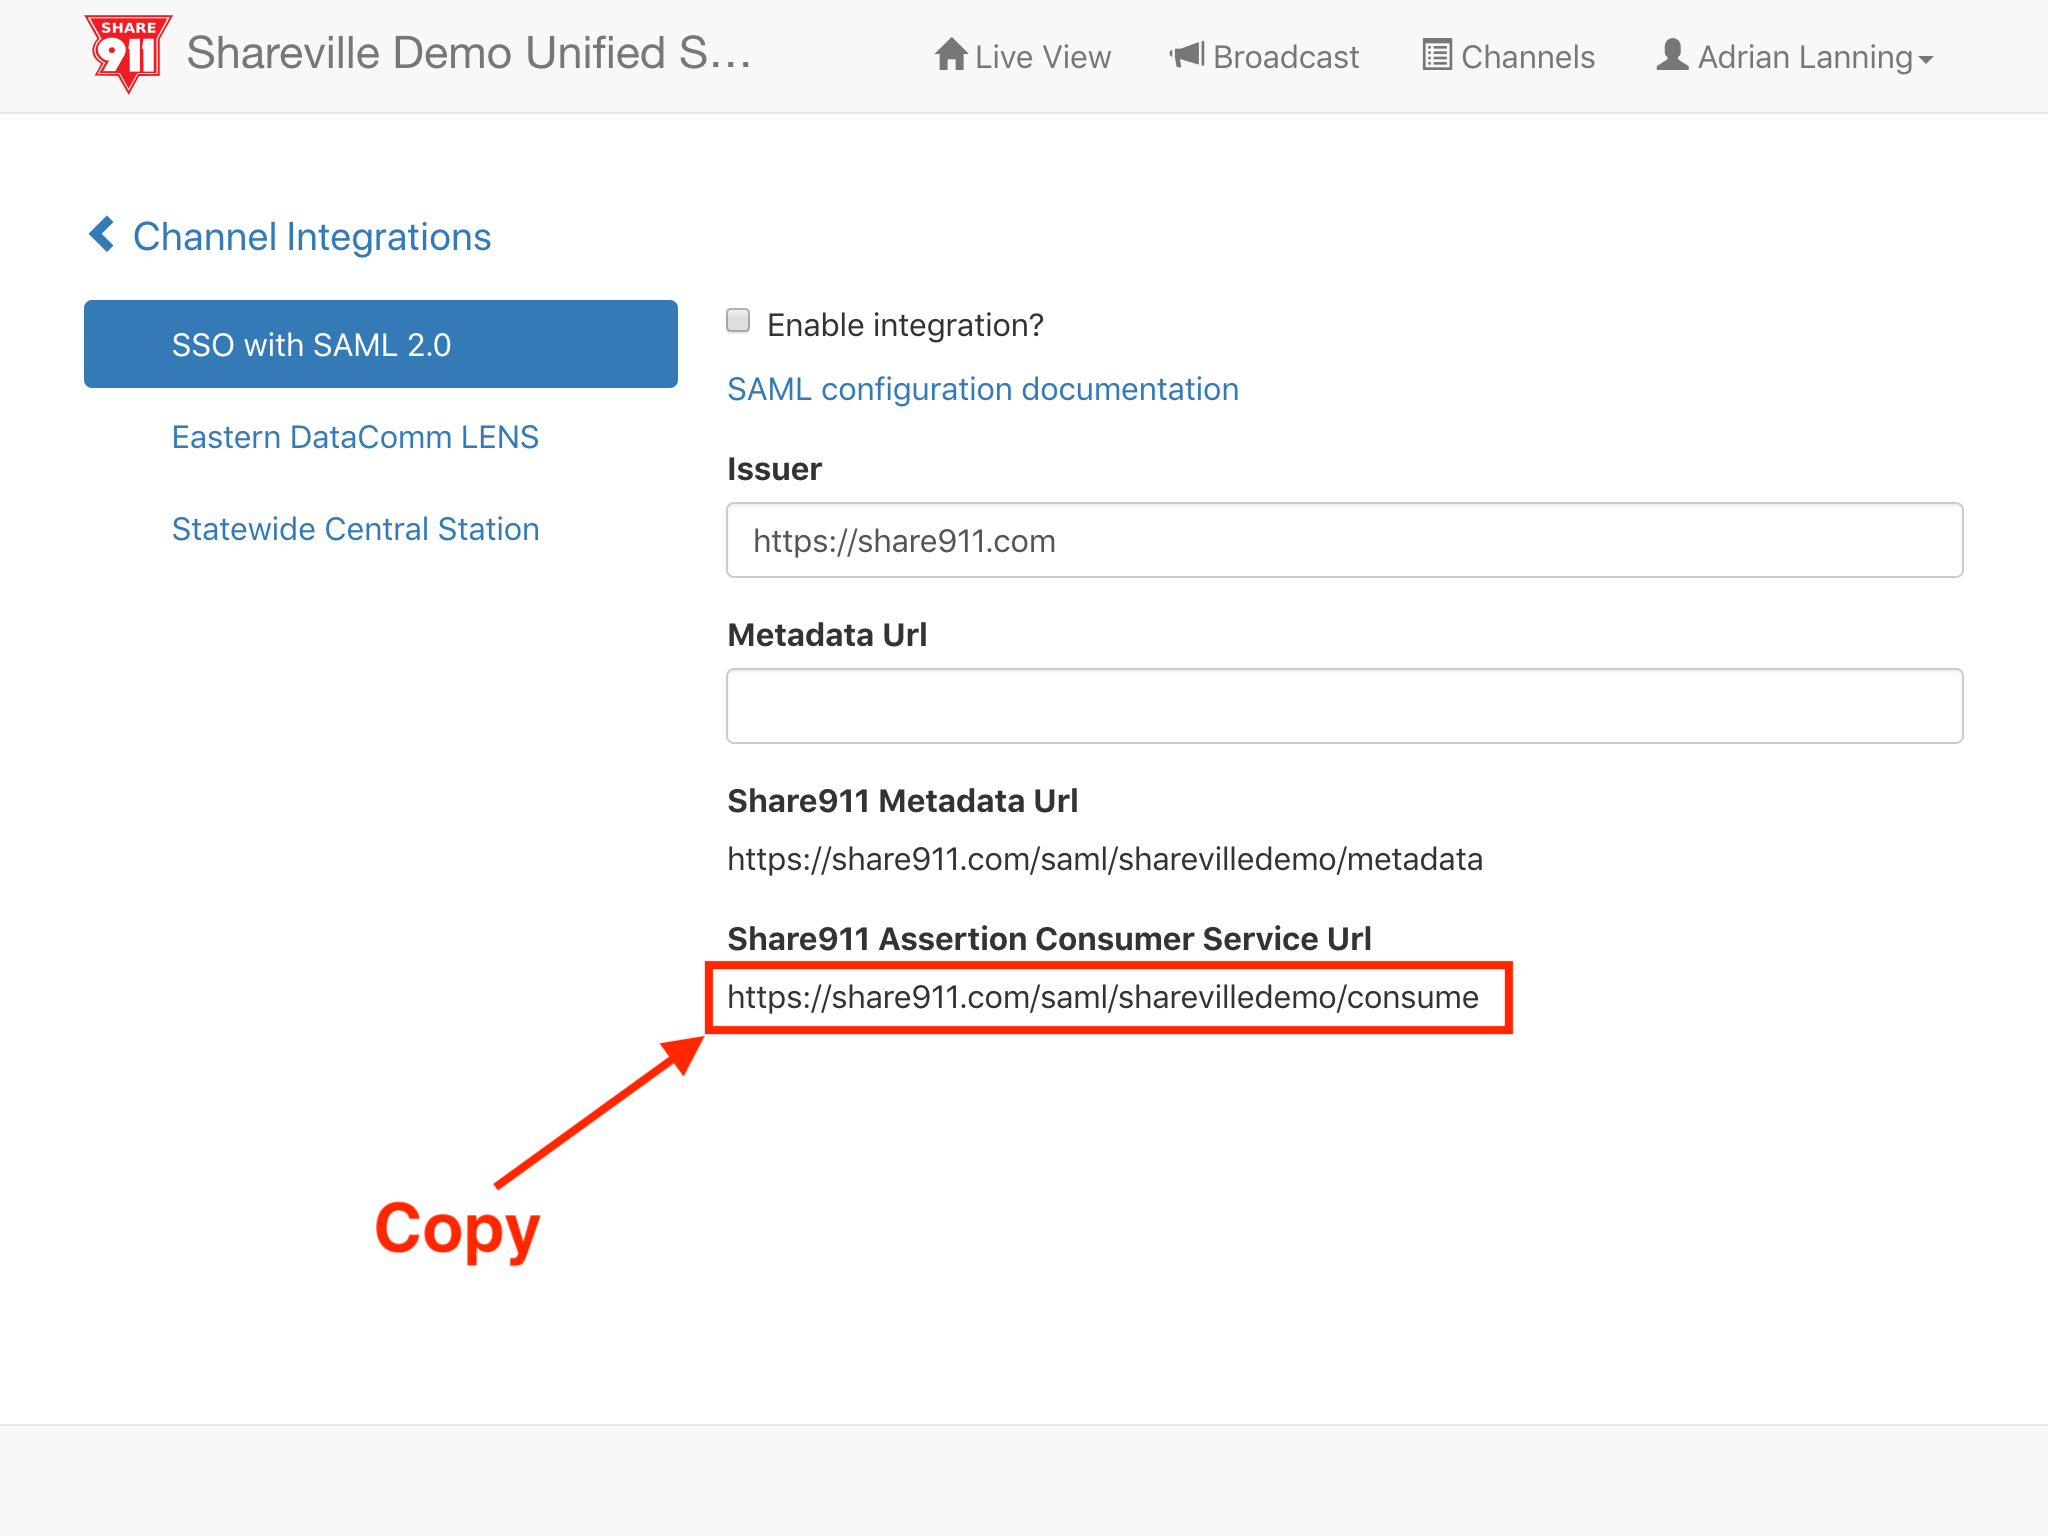
Then, type "https://share911.com" in the Issuer field. (We will get the Metadata Url value later from OKTA.)
Last, copy the value of the Share911 Assertion Consumer Service Url field. For example, "https://share911.com/saml/sharevilledemo/consume". We will need this information when we create the Share911 application in OKTA.
2. Create a Share911 application in OKTA
Now we can open a new browser tab (CTRL + T on Windows or CMD + T on Mac) and log in to our OKTA Administrator account.
(NOTE: In order to create a SAML application, make sure that the OKTA UI is set to "Classic".)
Next click "Add Application".
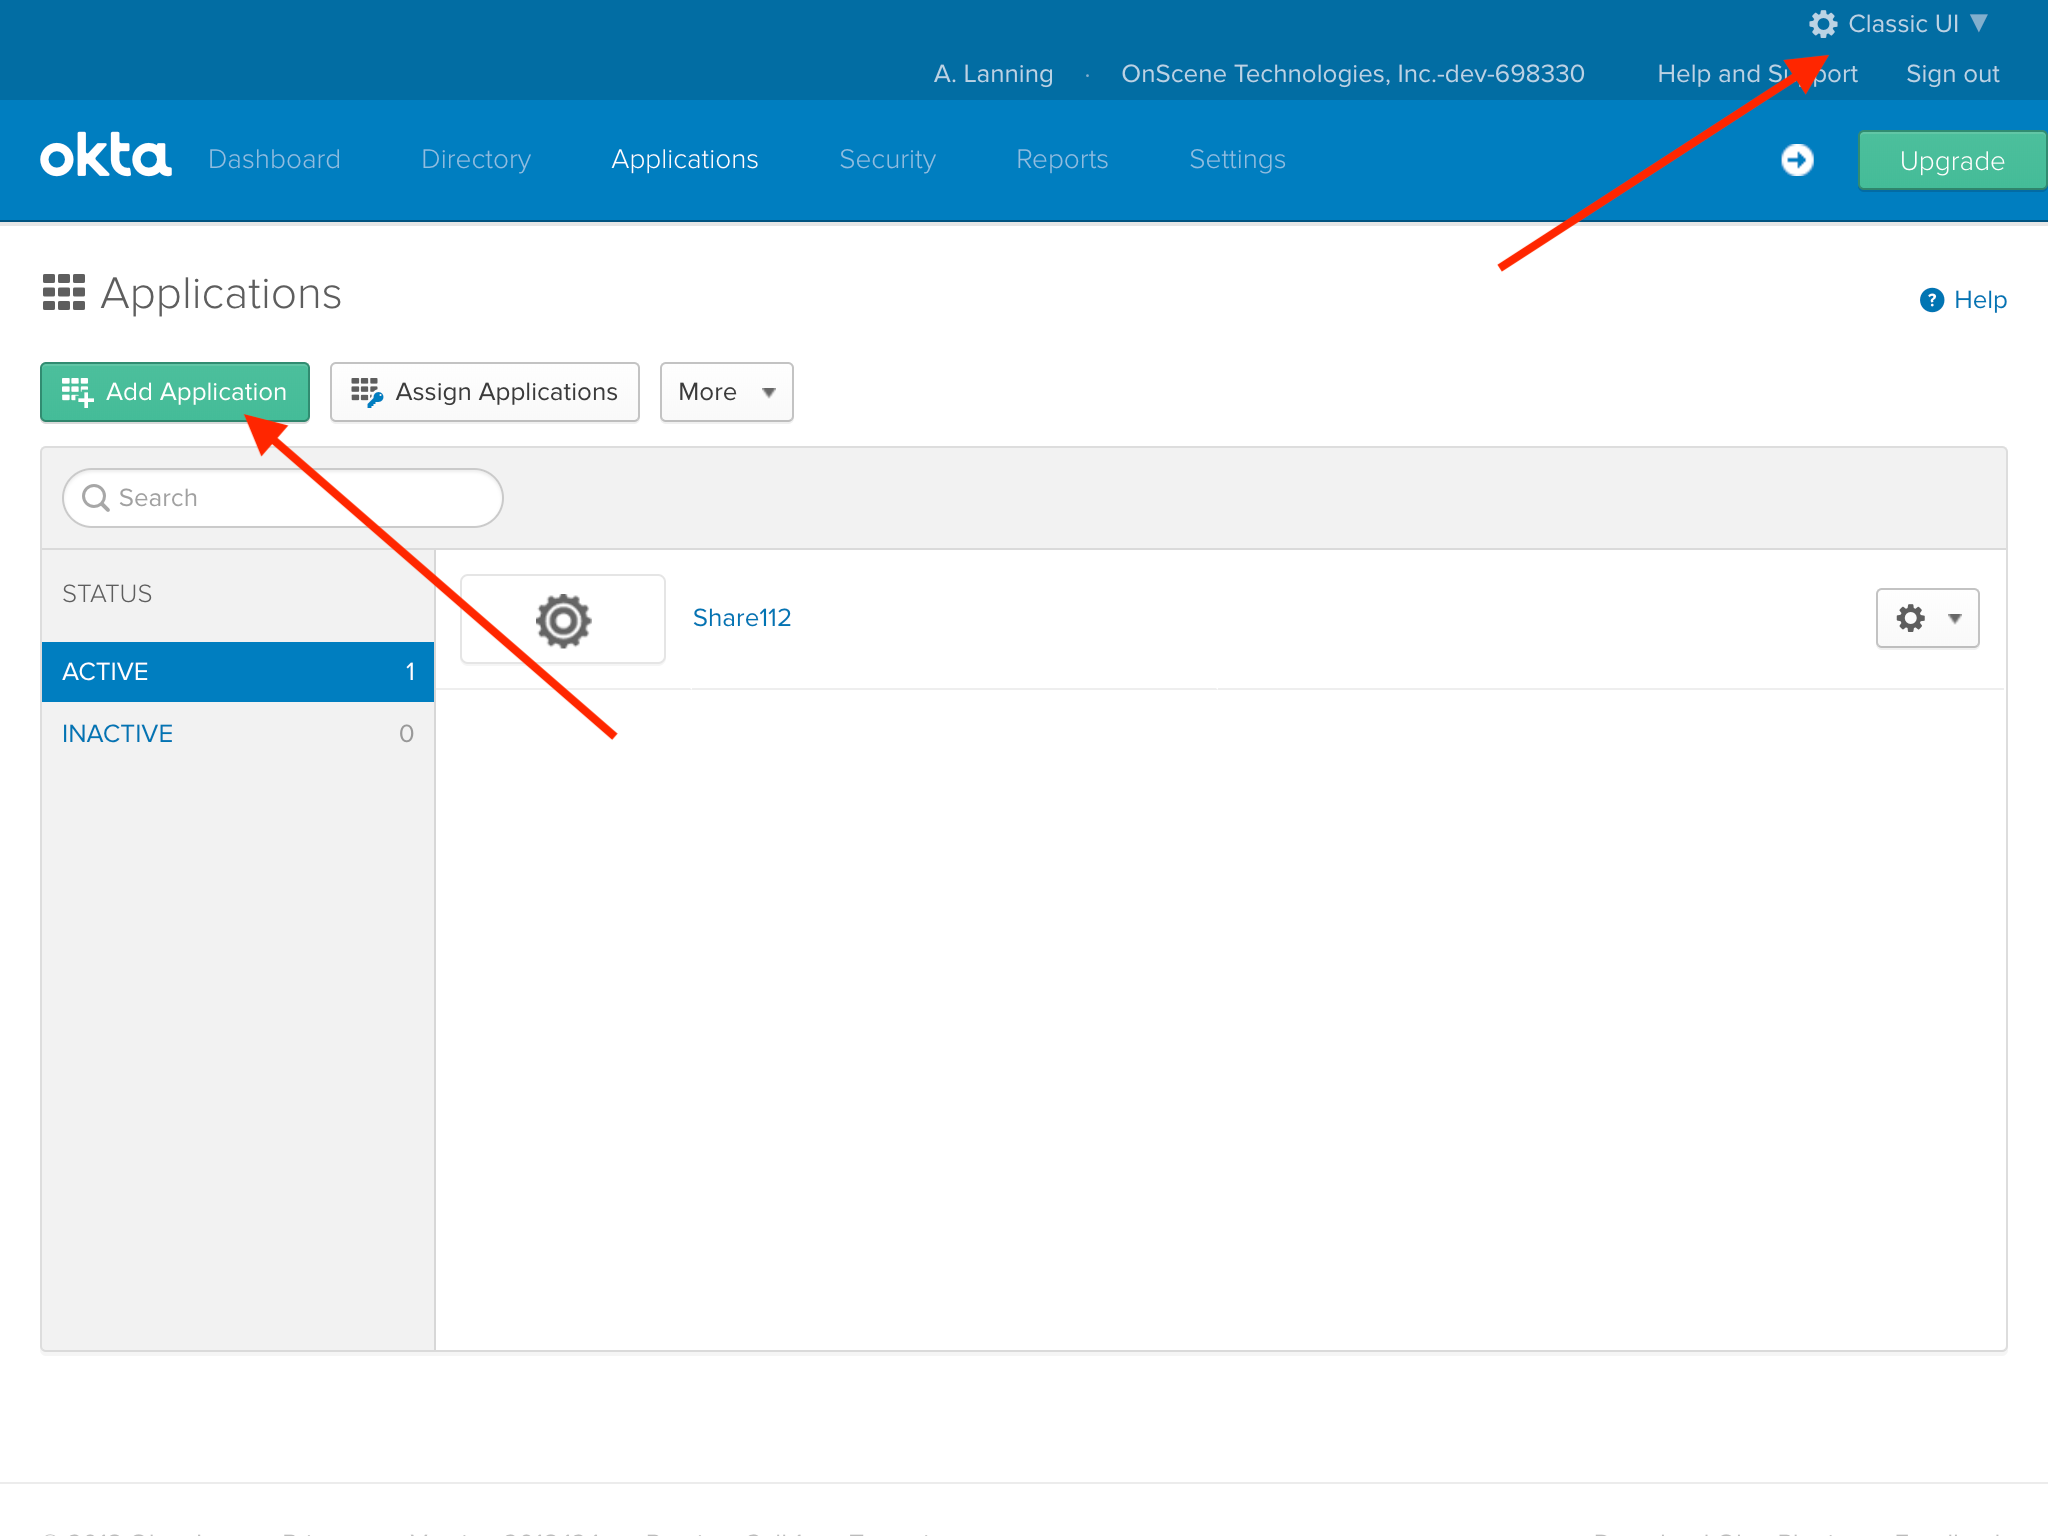
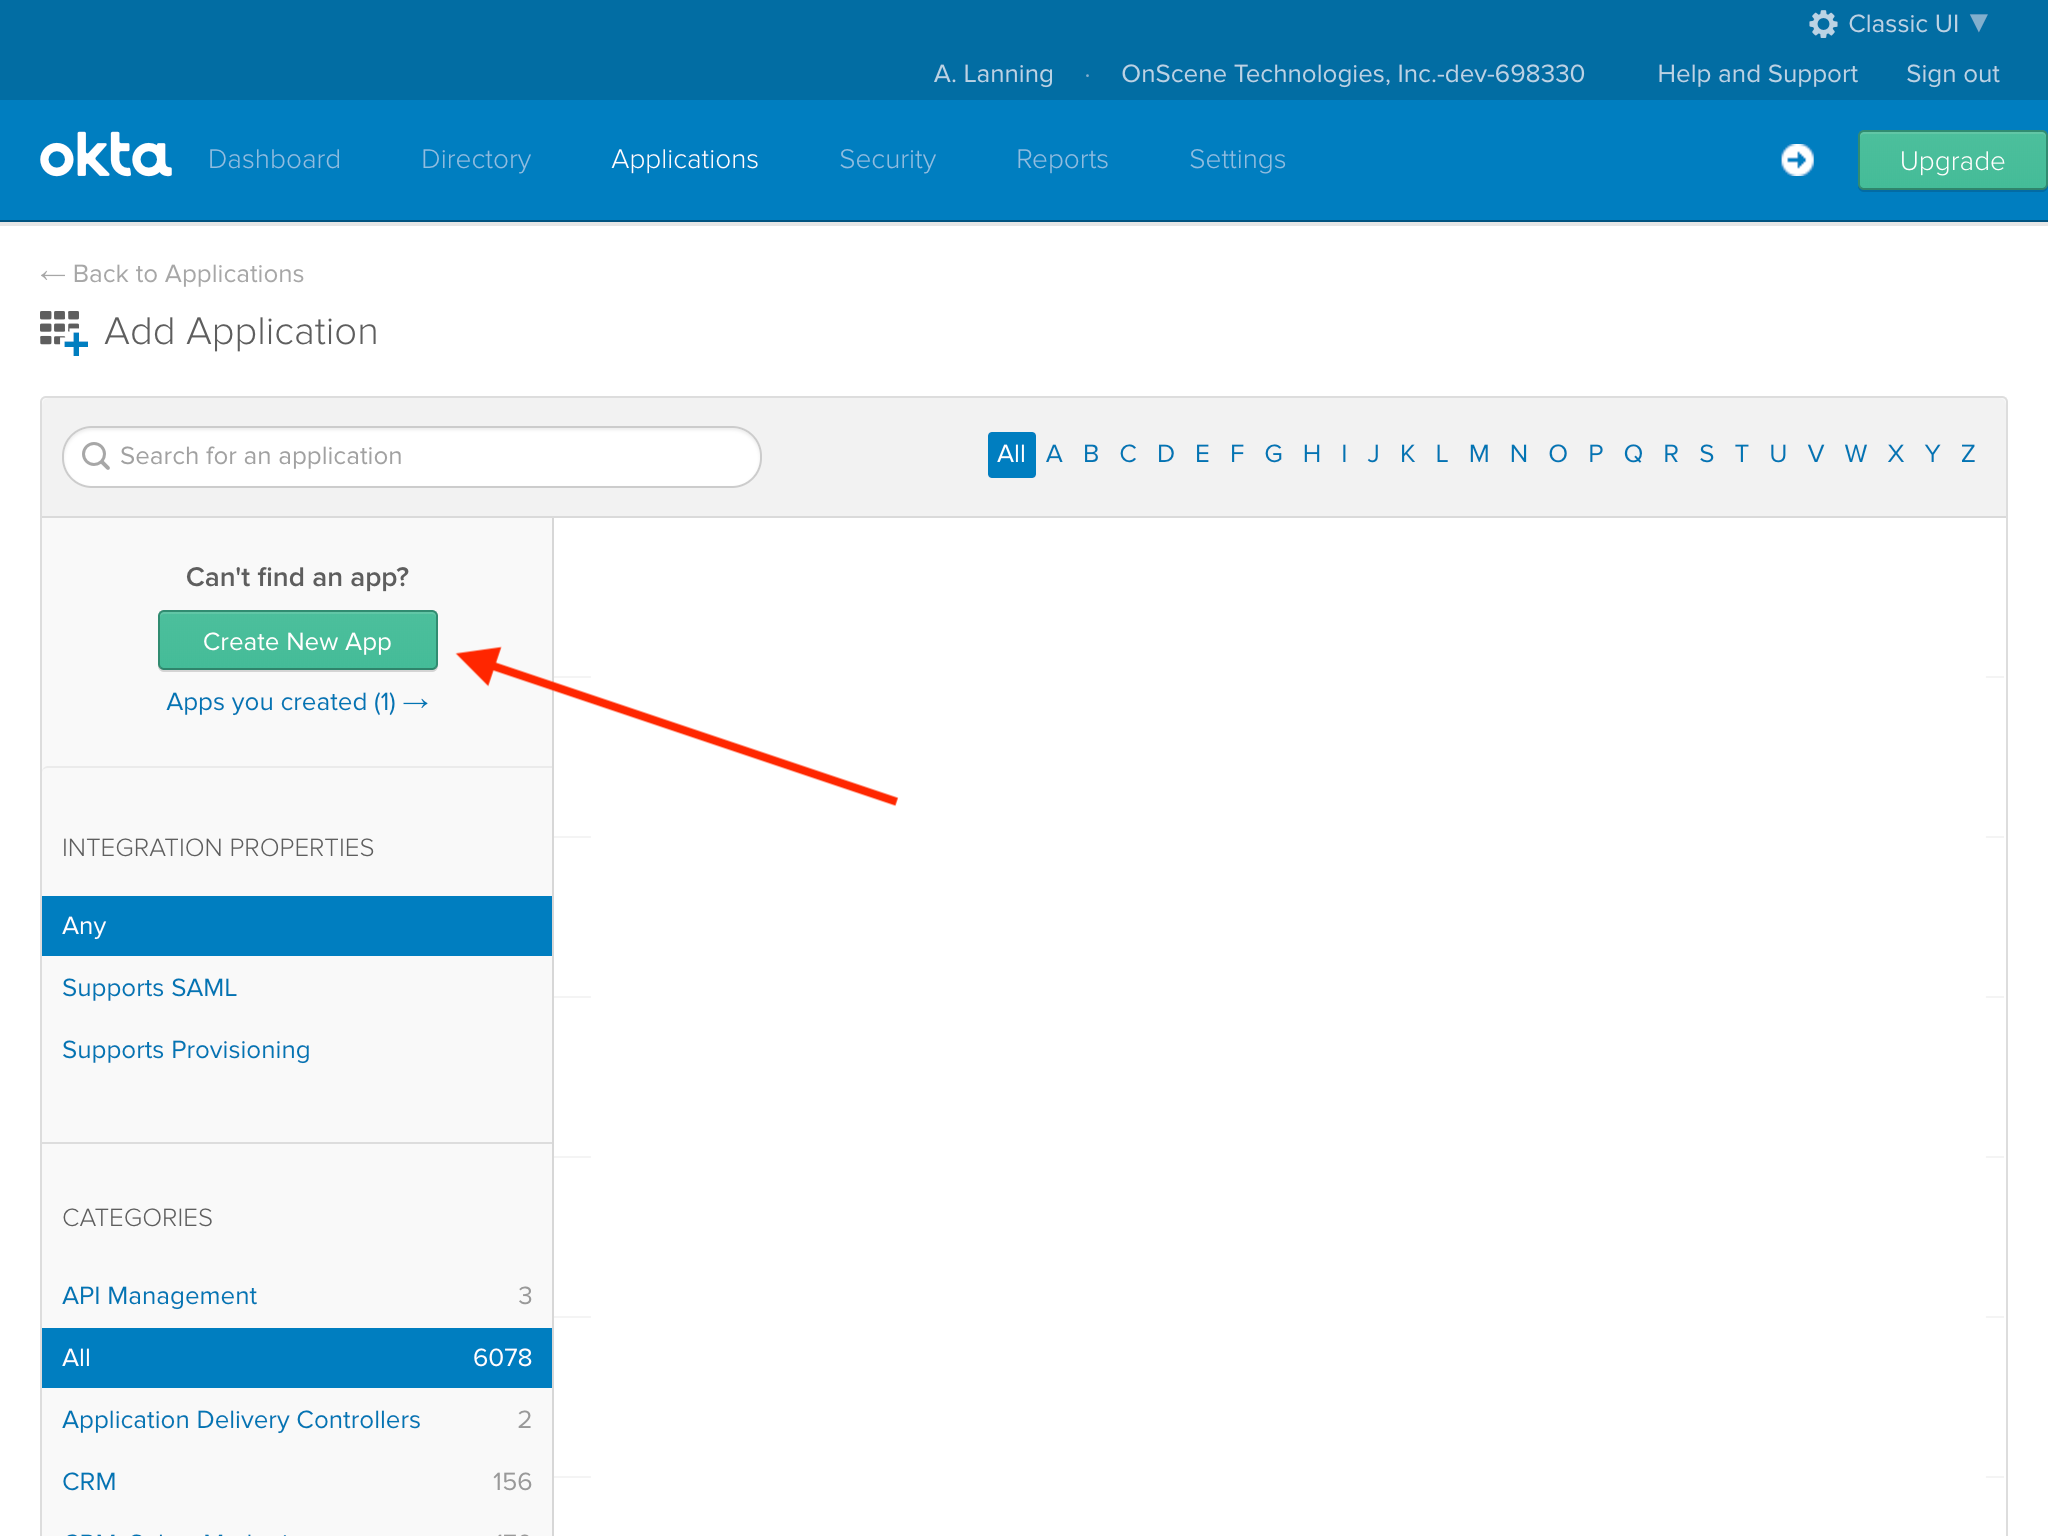
Then we click the "Create New App" button...
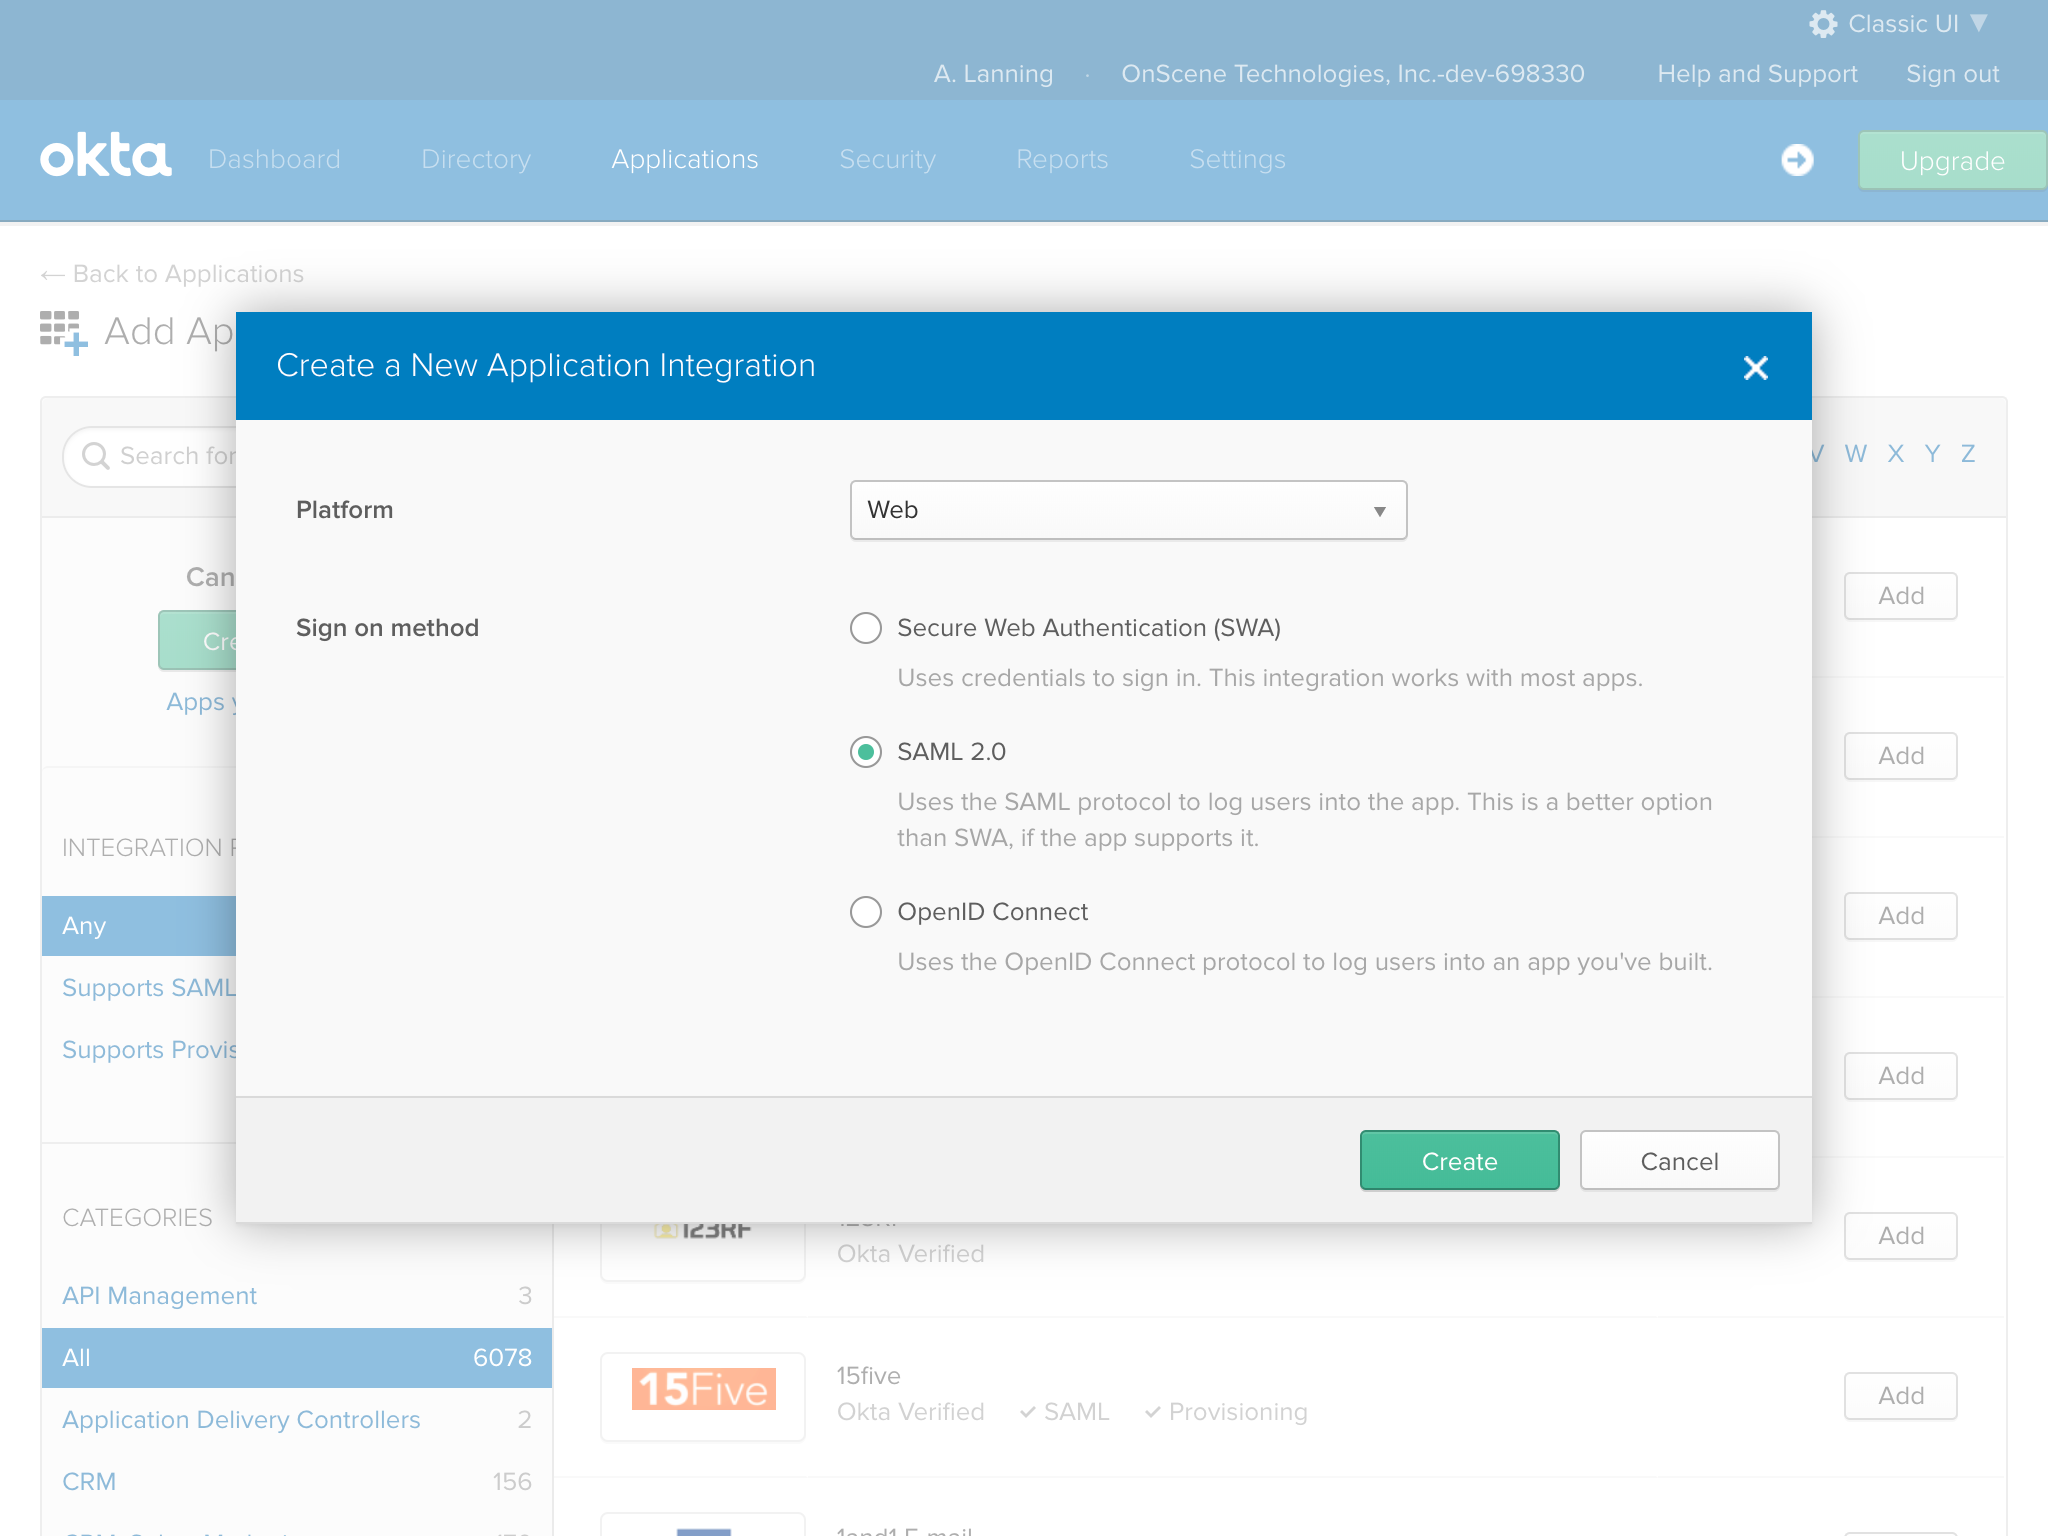
...and select "Web" and "SAML 2.0", then click "Create".
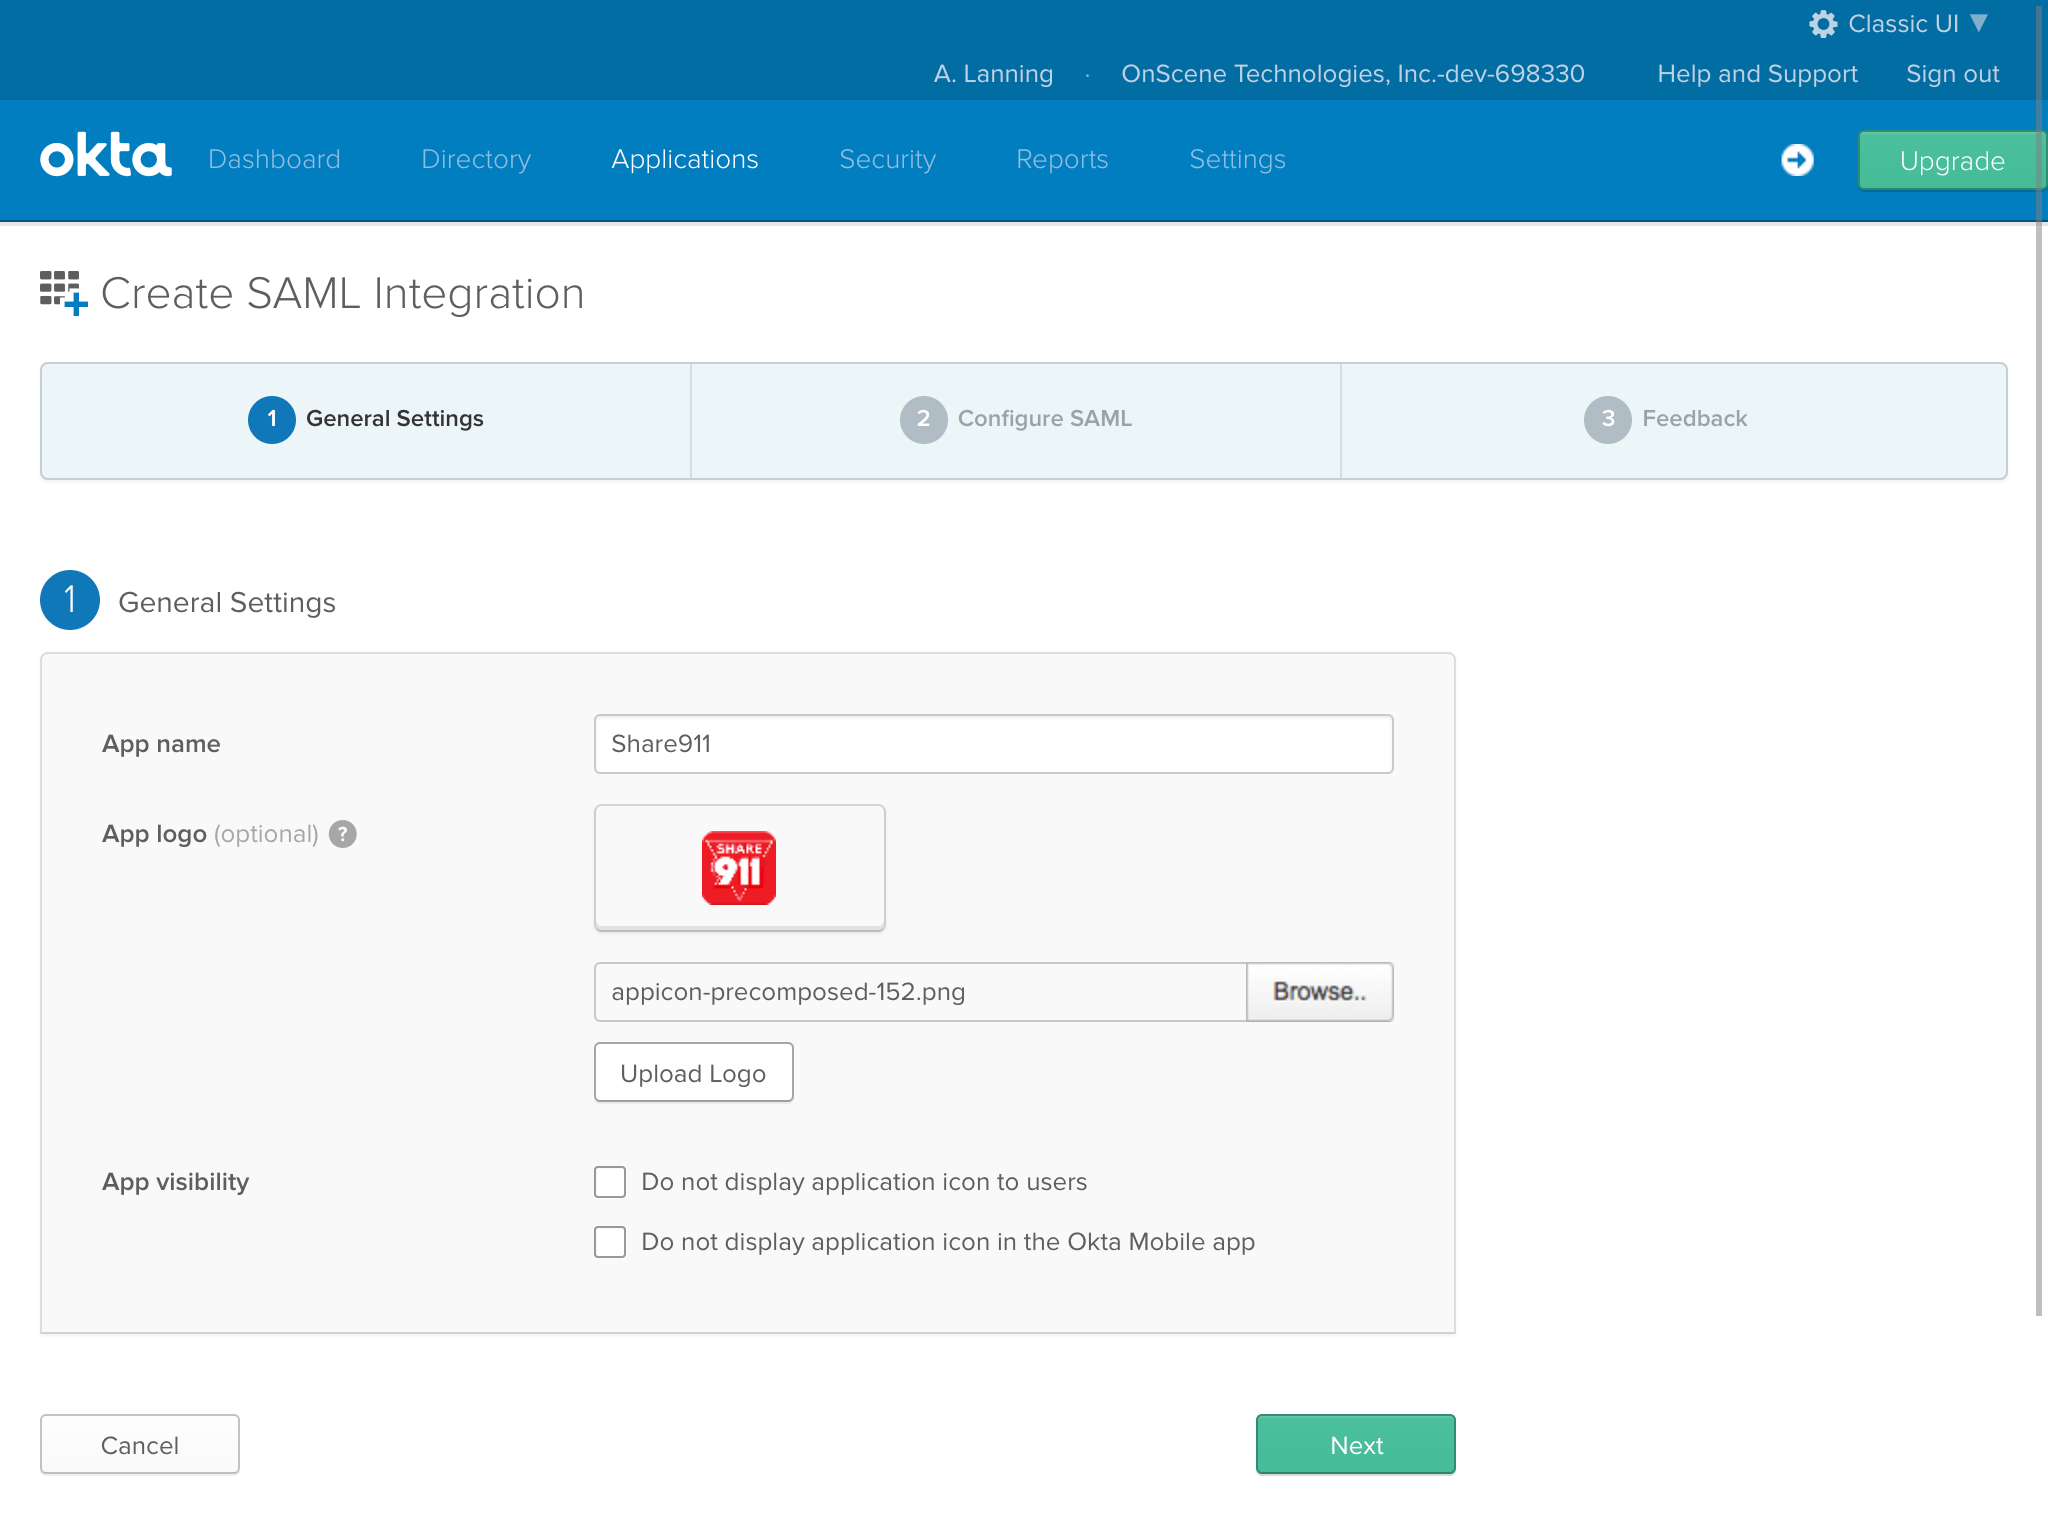
We'll enter "Share911" as the name. We can also add a logo; the Share911 app icon can be downloaded here. Then click "Next".
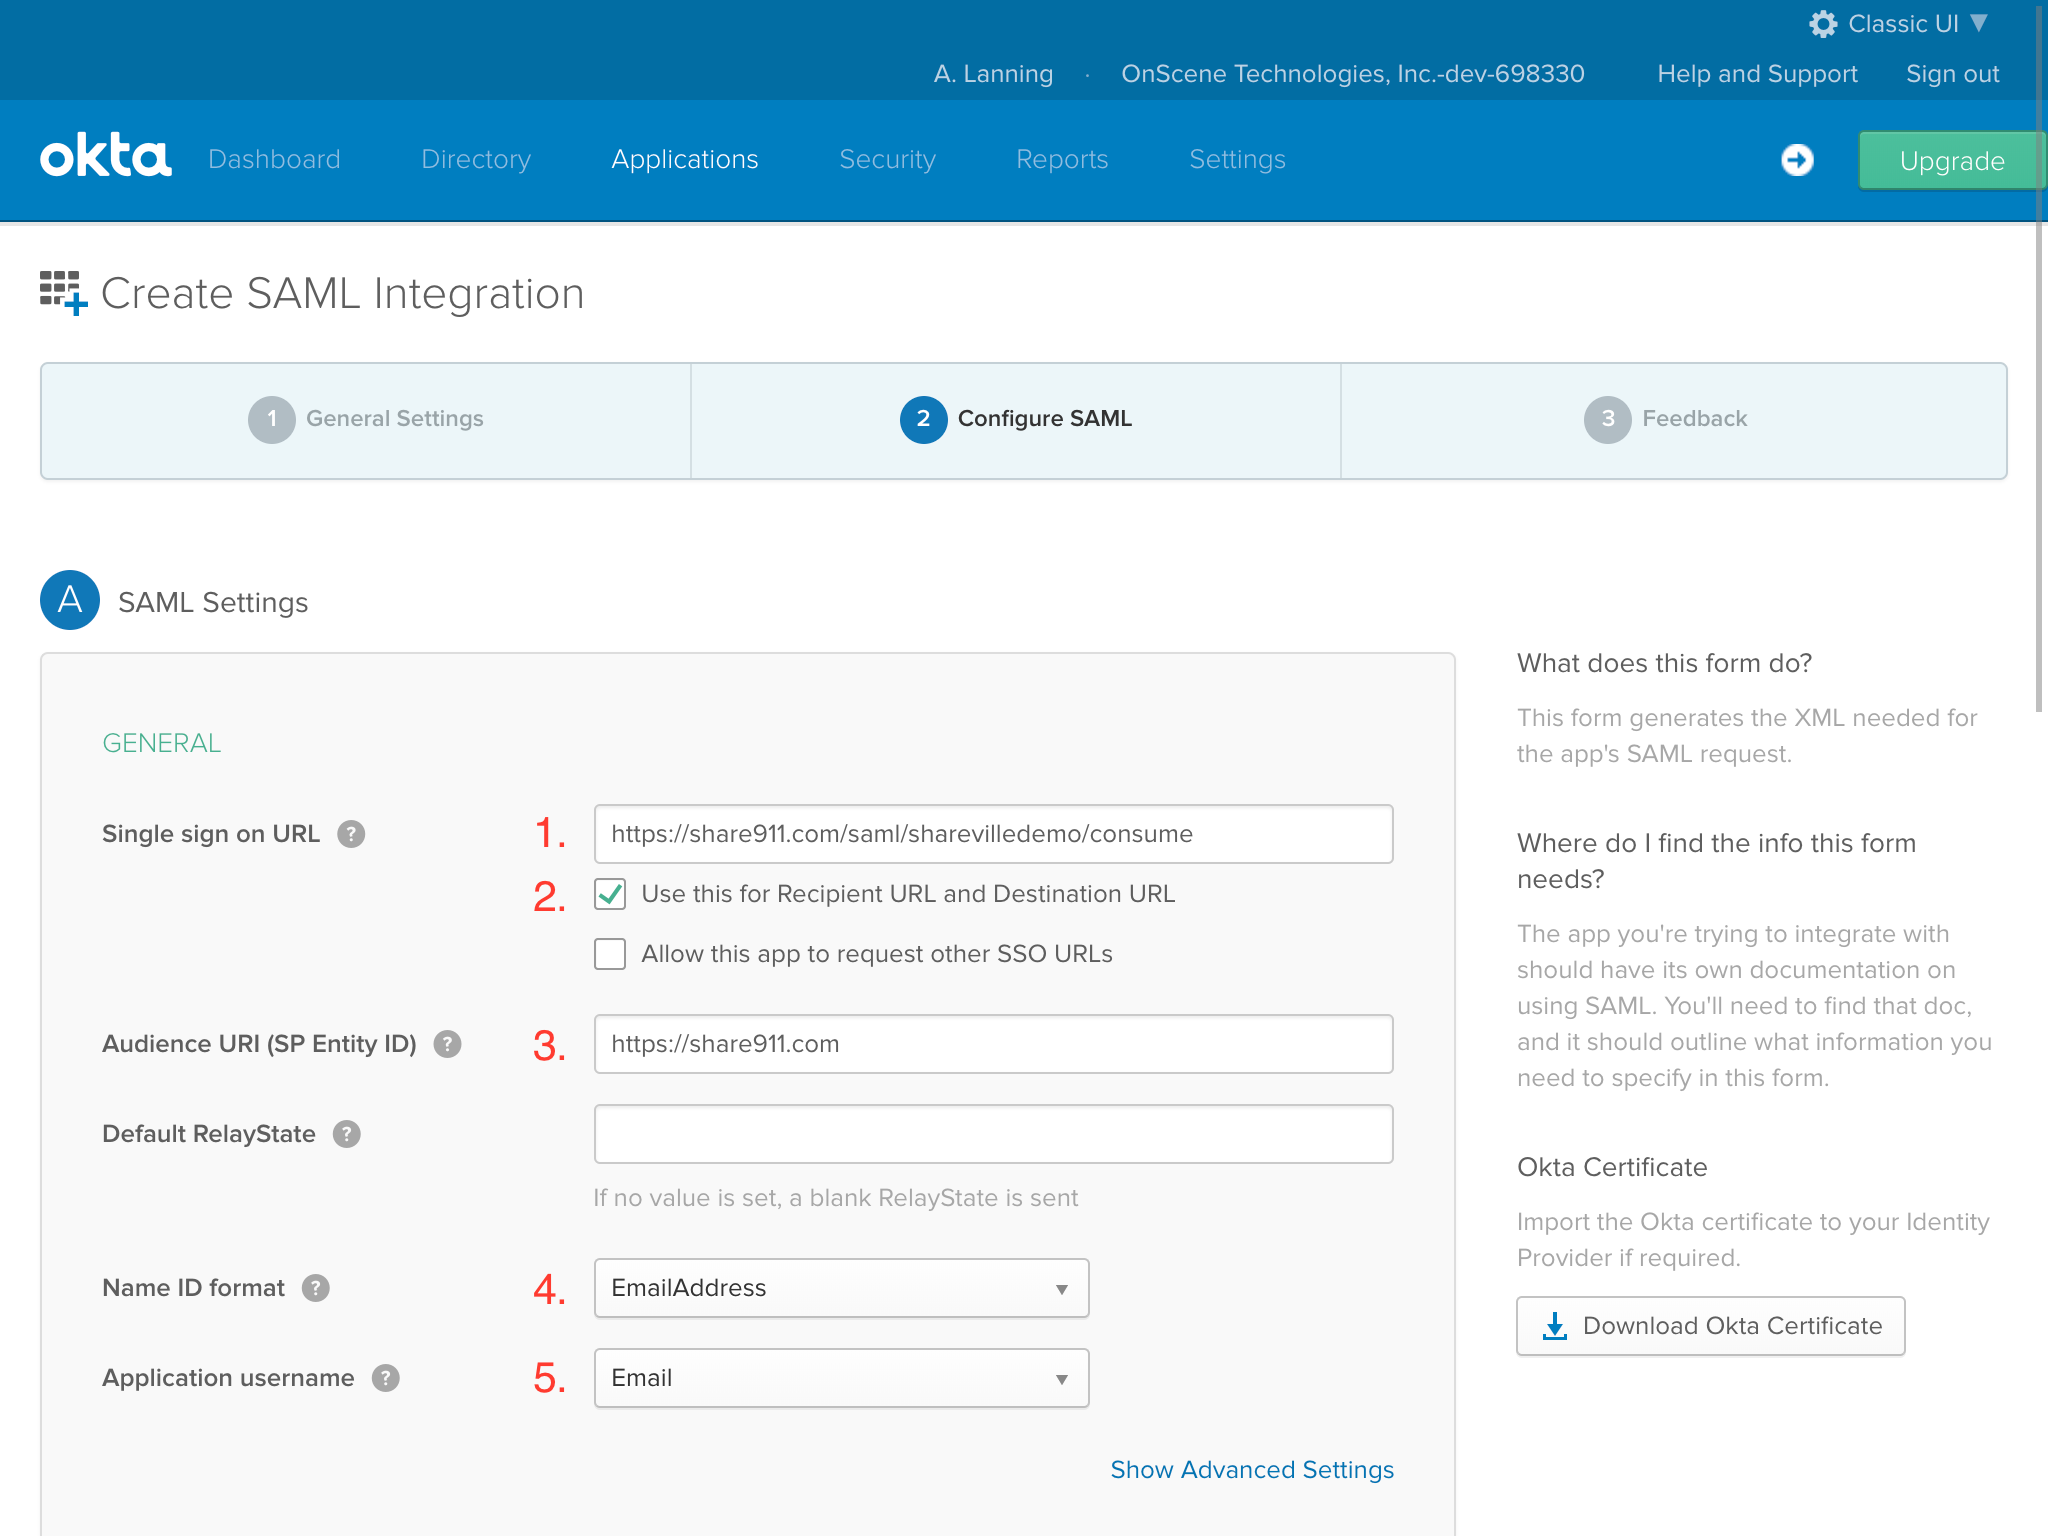
Next, we need to set the SAML settings for this app:
- Paste the Consumer Service URL that we copied from the Share911 Integrations page in Step 1 into the Single sign on URL field.
- Make sure the "Use this for Recipient URL and Destination URL field is checked.
- Enter "https://share911.com" as the Audience URI.
- Select "EmailAddress" in the Name ID format field.
- Select "Email" in the Application username field.
- Scroll down to the bottom of the page and click the "Next" button.
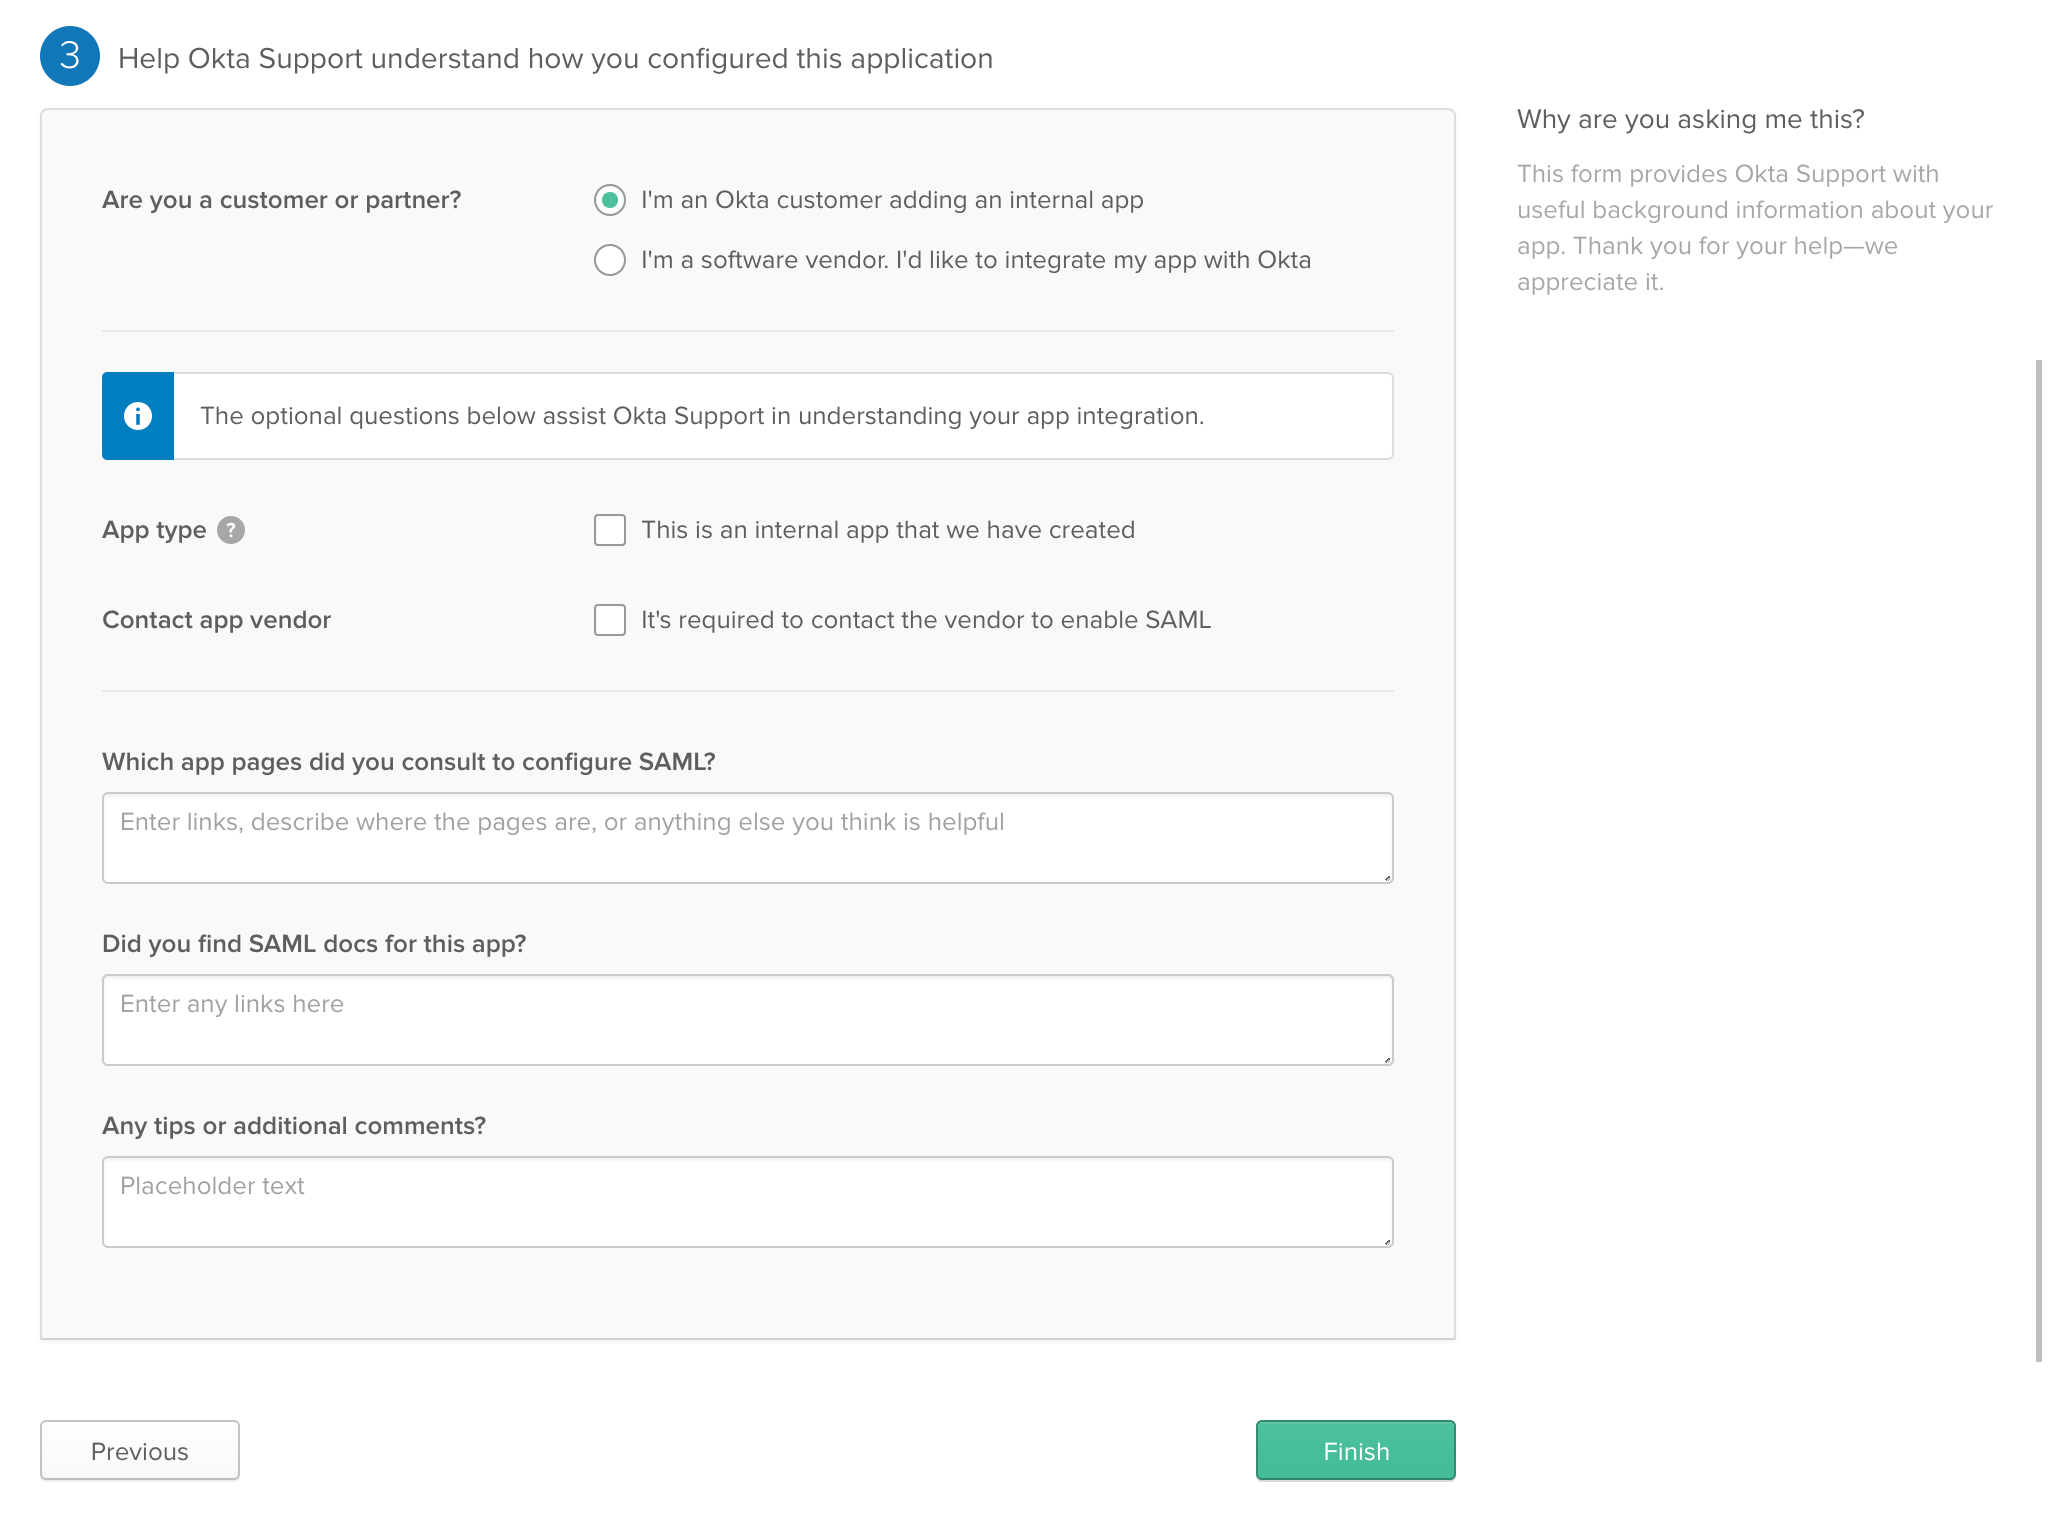
This last OKTA page is all optional information. Let's select "I'm an OKTA customer..." and click the "Finish" button down at the bottom.
3. Assign Users to Share911 app in OKTA
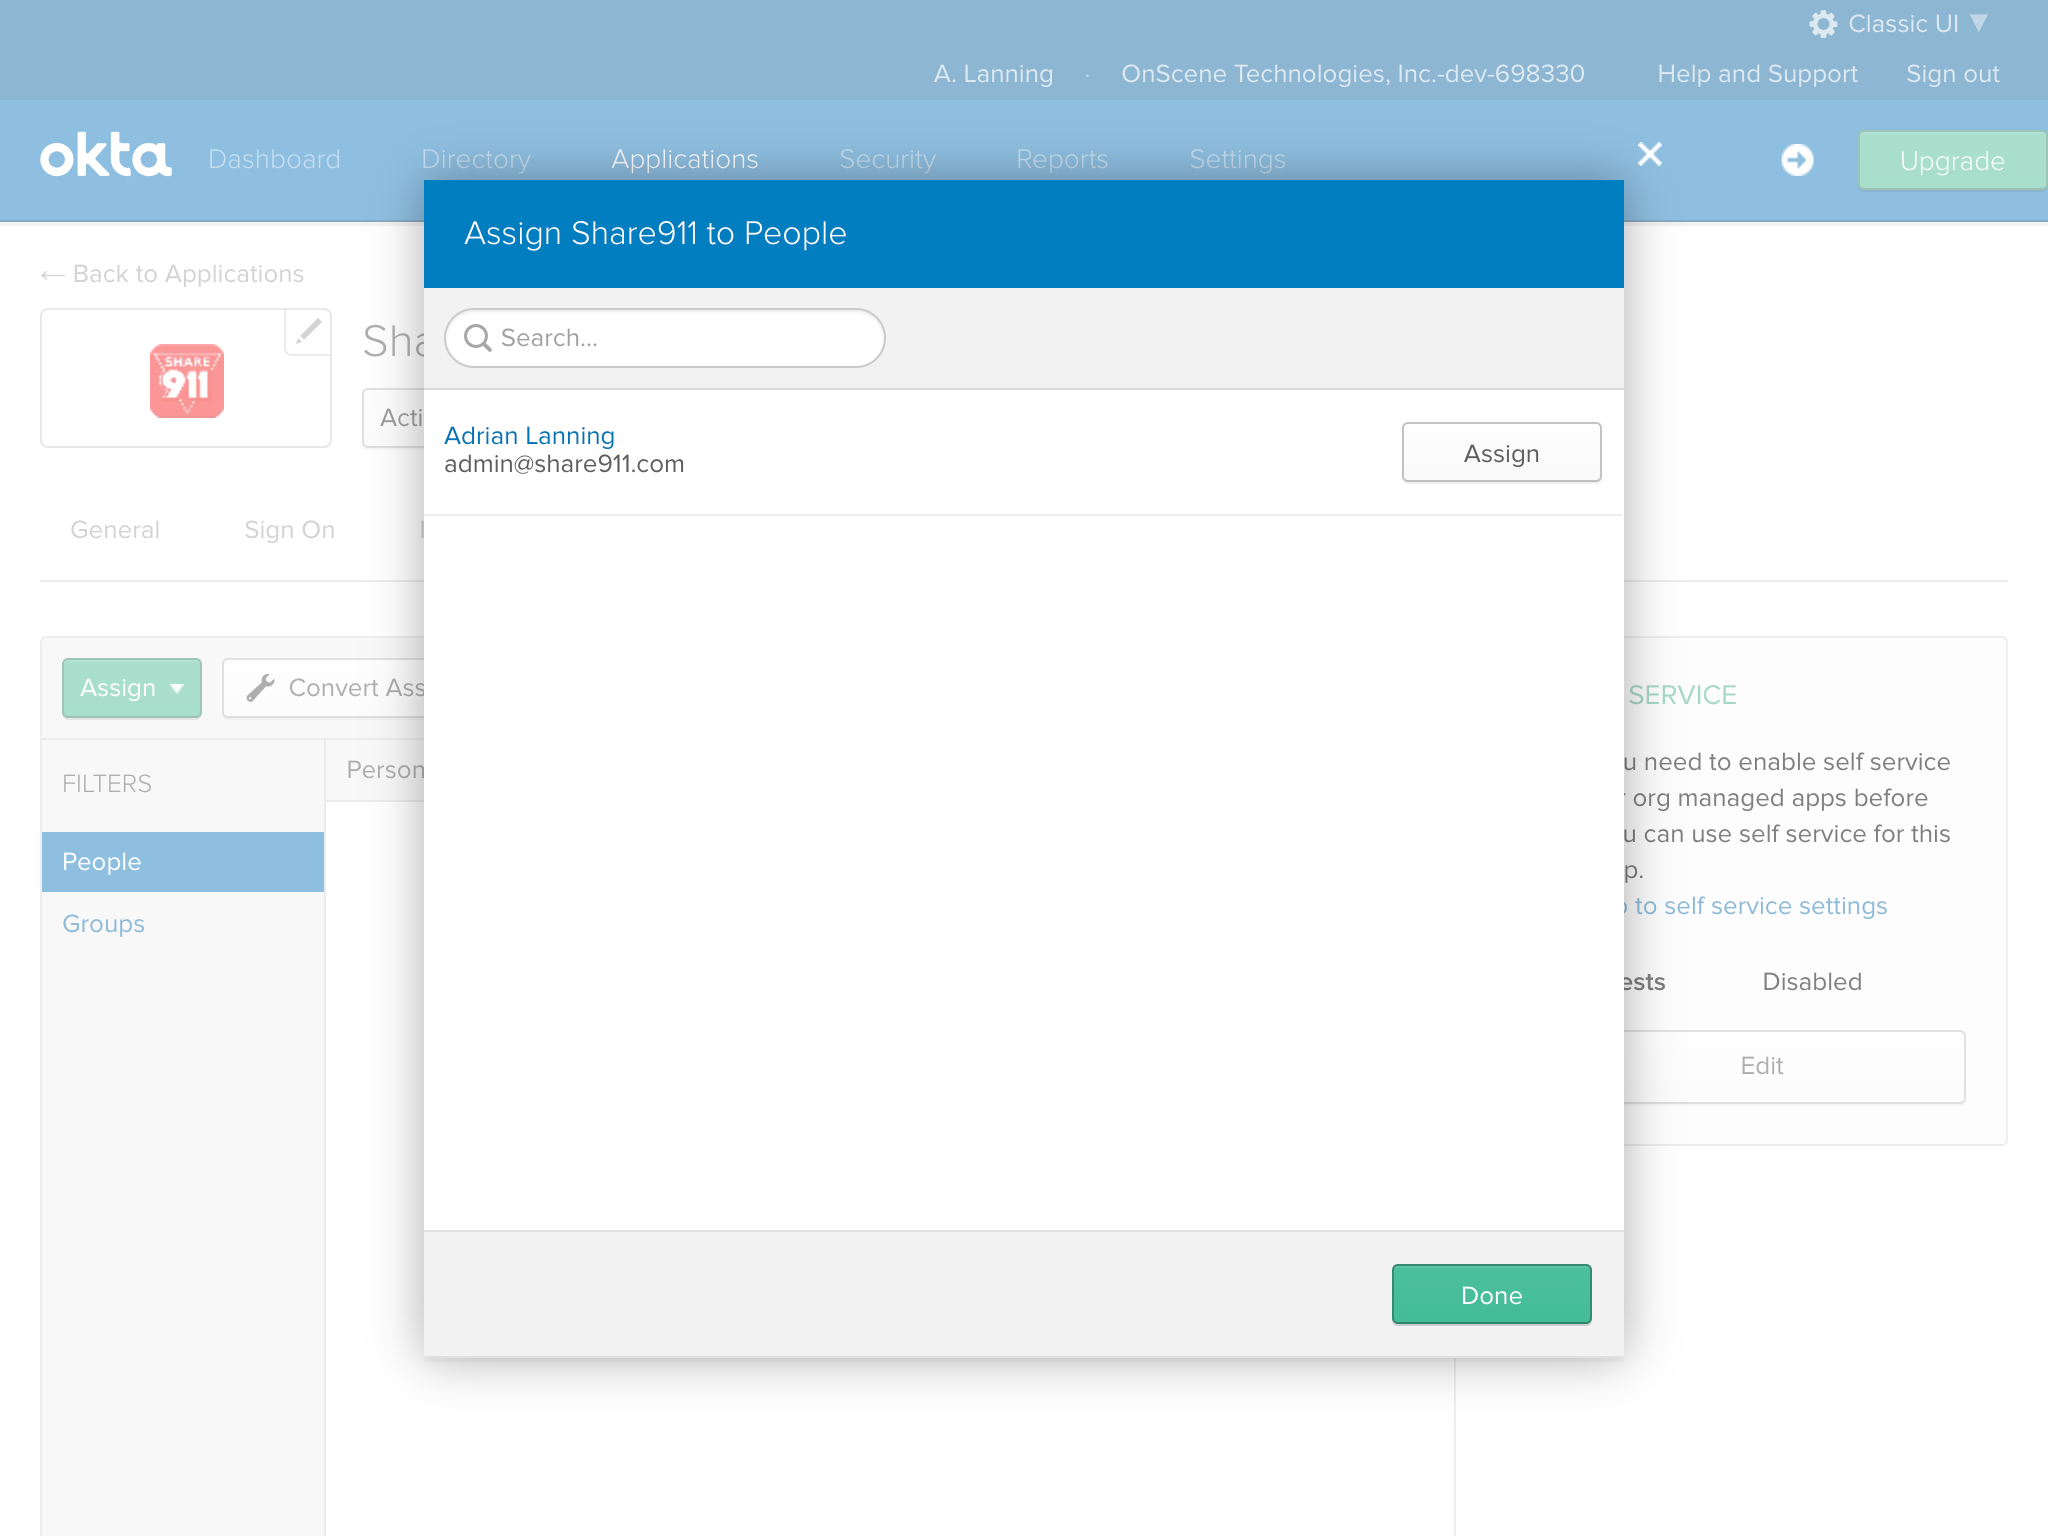
Now that we've created our Share911 application in OKTA, let's give people permission to use it. Switch to the Assignments tab and click the "Assign" button on the left. If you would like to start testing Share911 with a few staff first, you can assign individual people. Otherwise, you can assign whichever Groups make sense for your organizational structure.
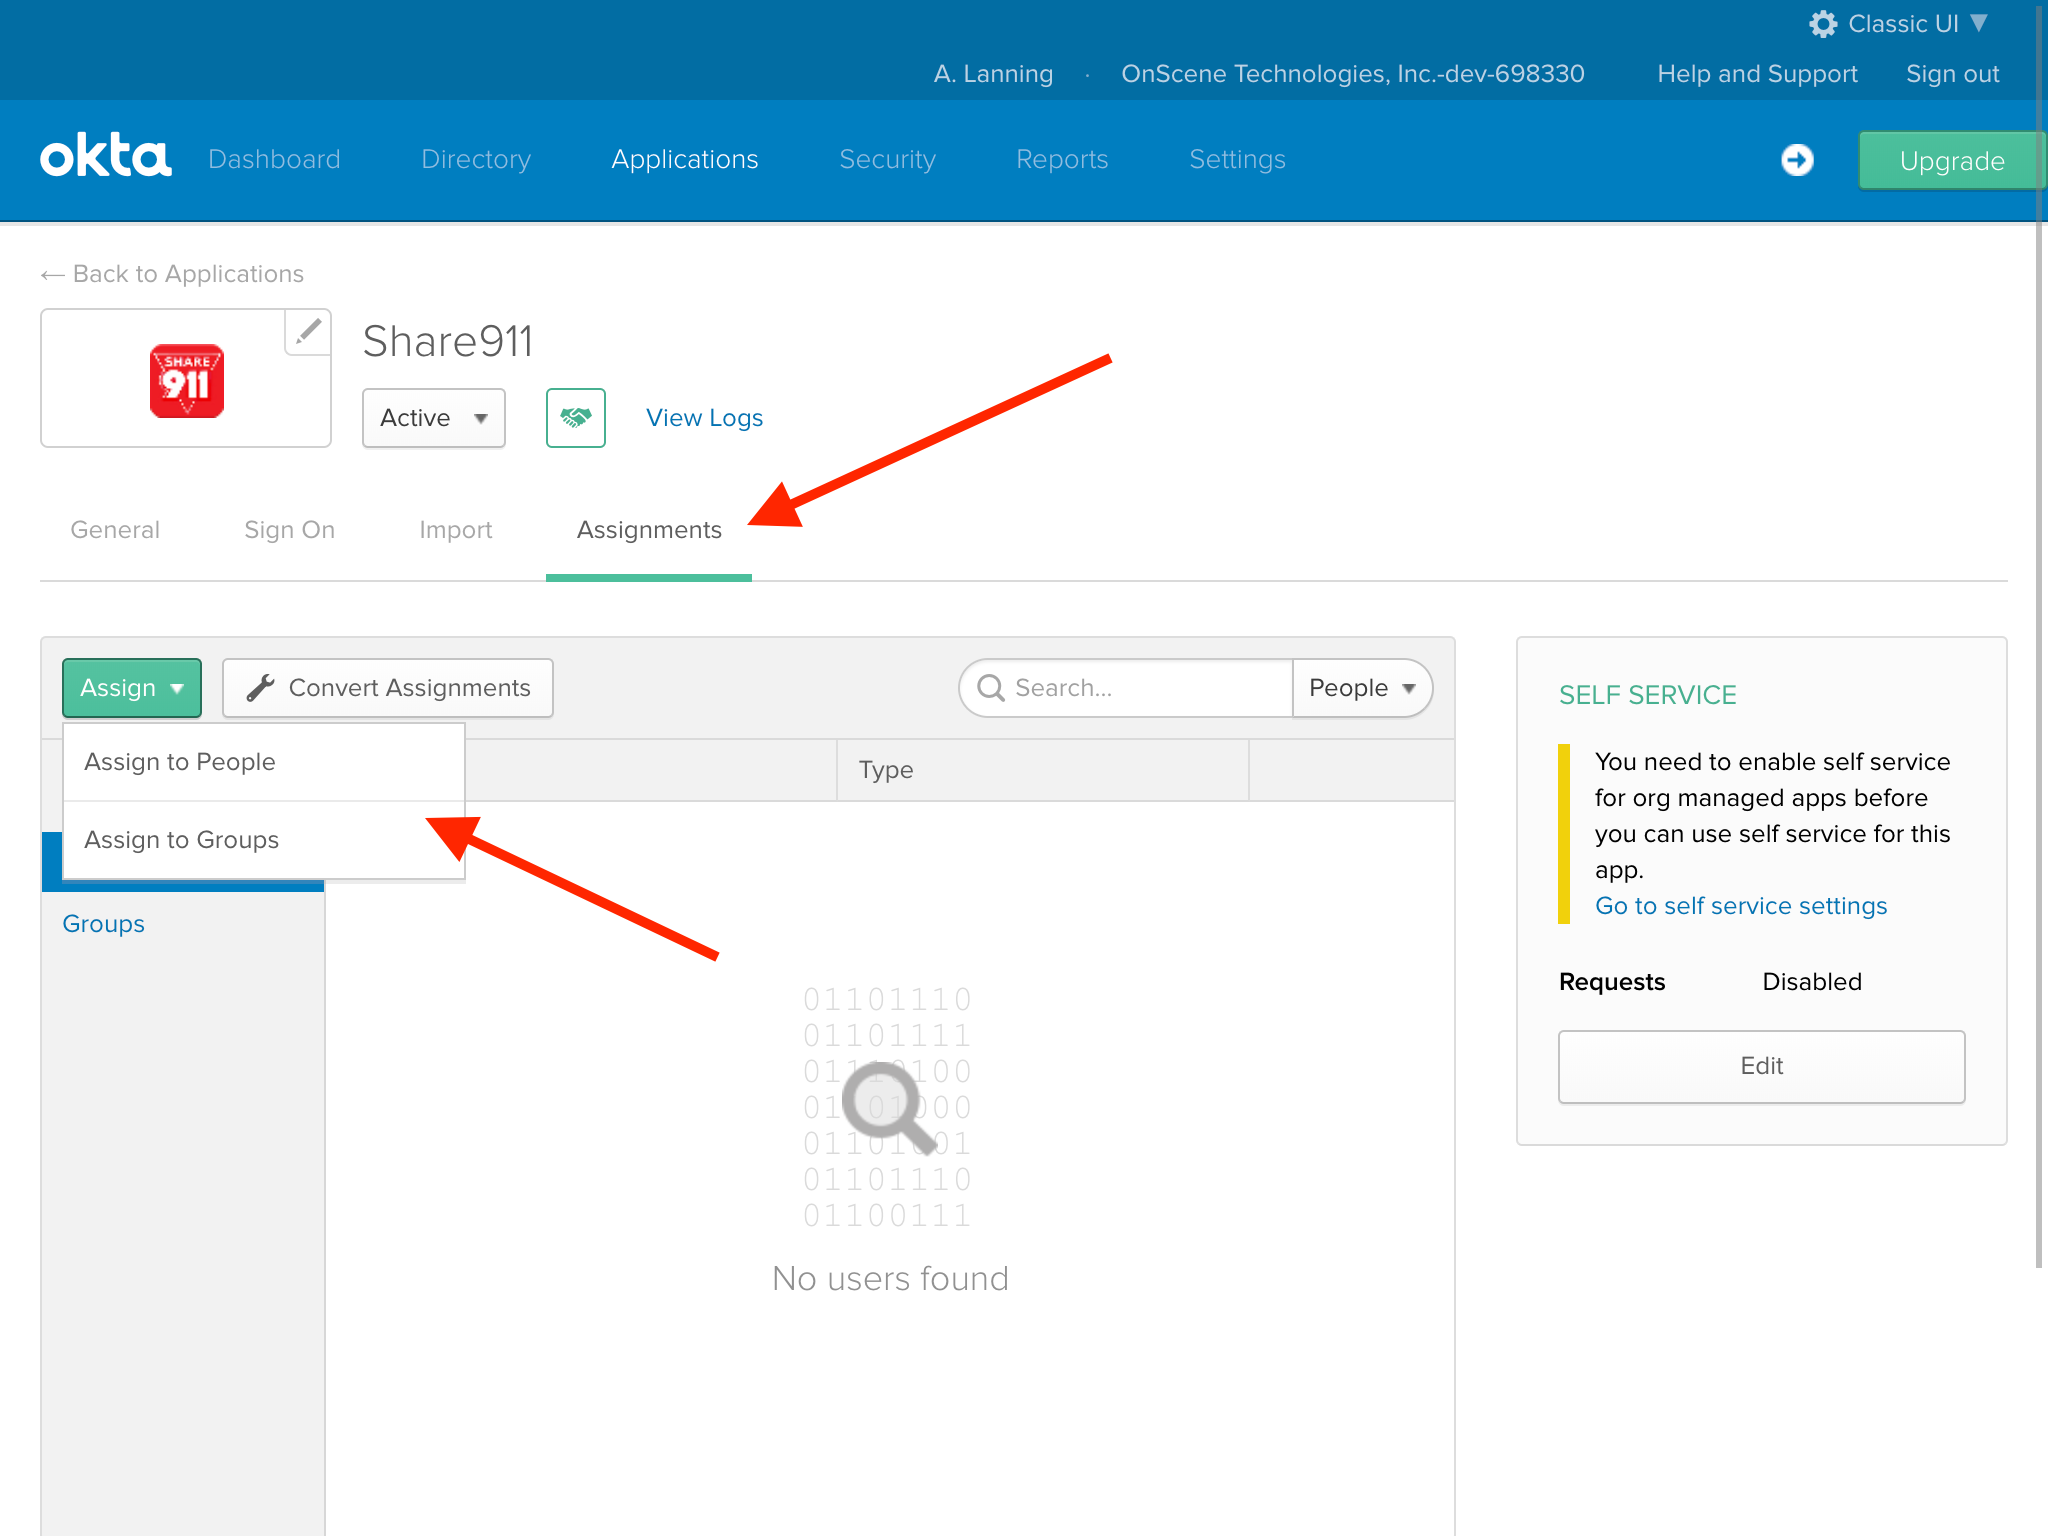
For this example, I'll assign access to a single person.
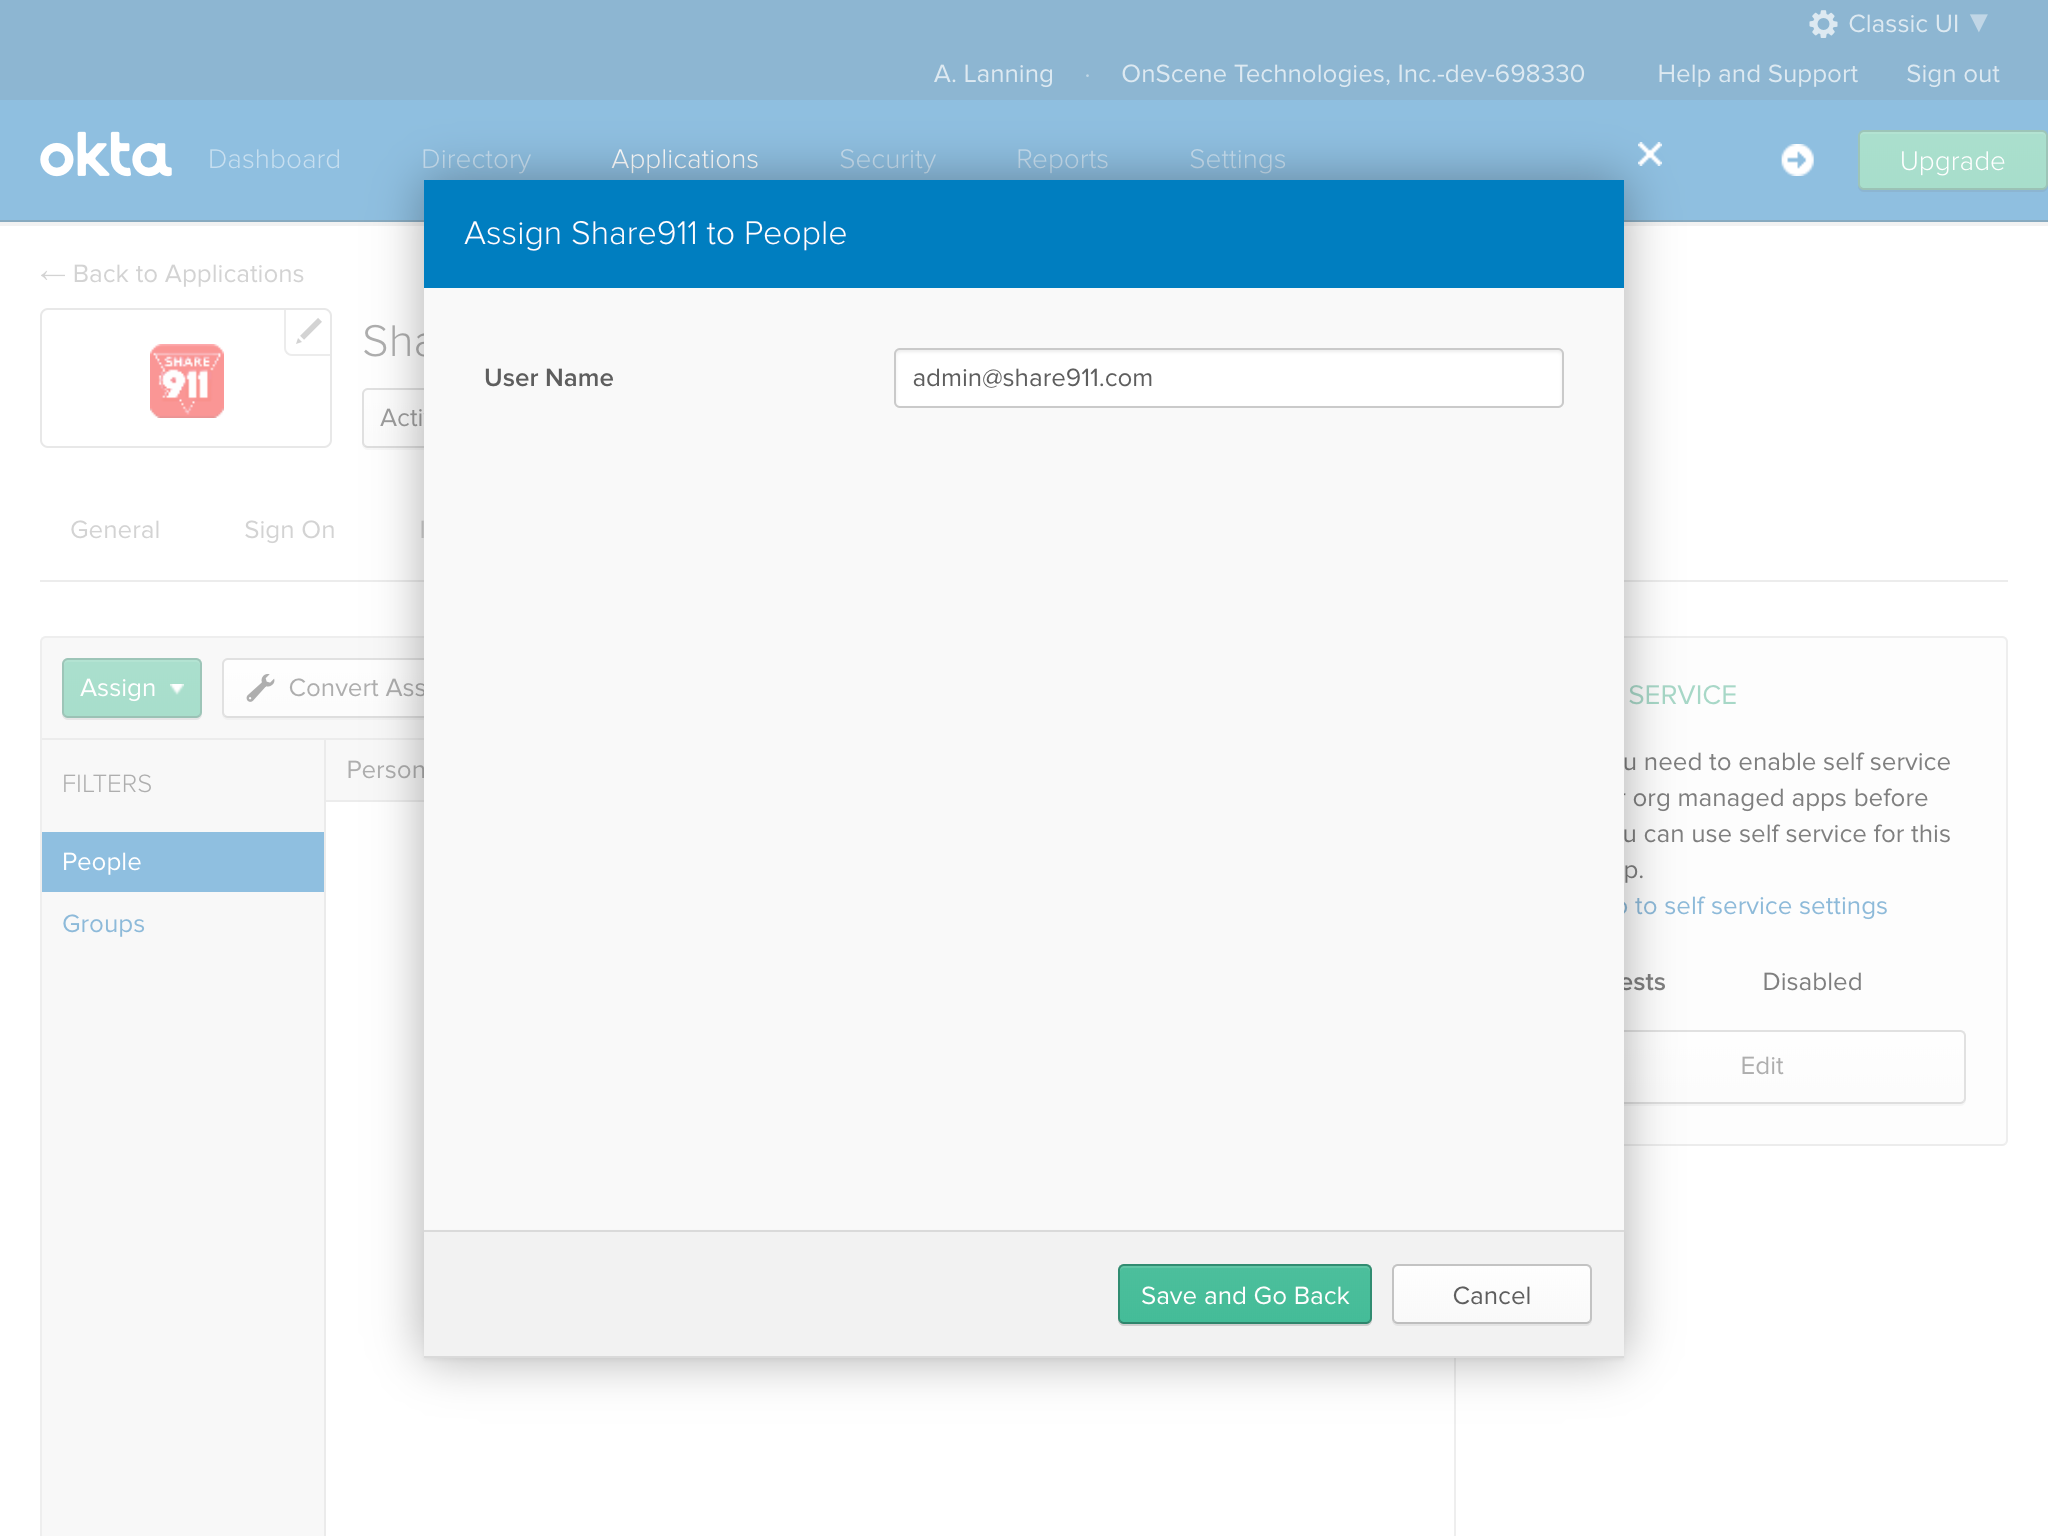
The default username works in this case:
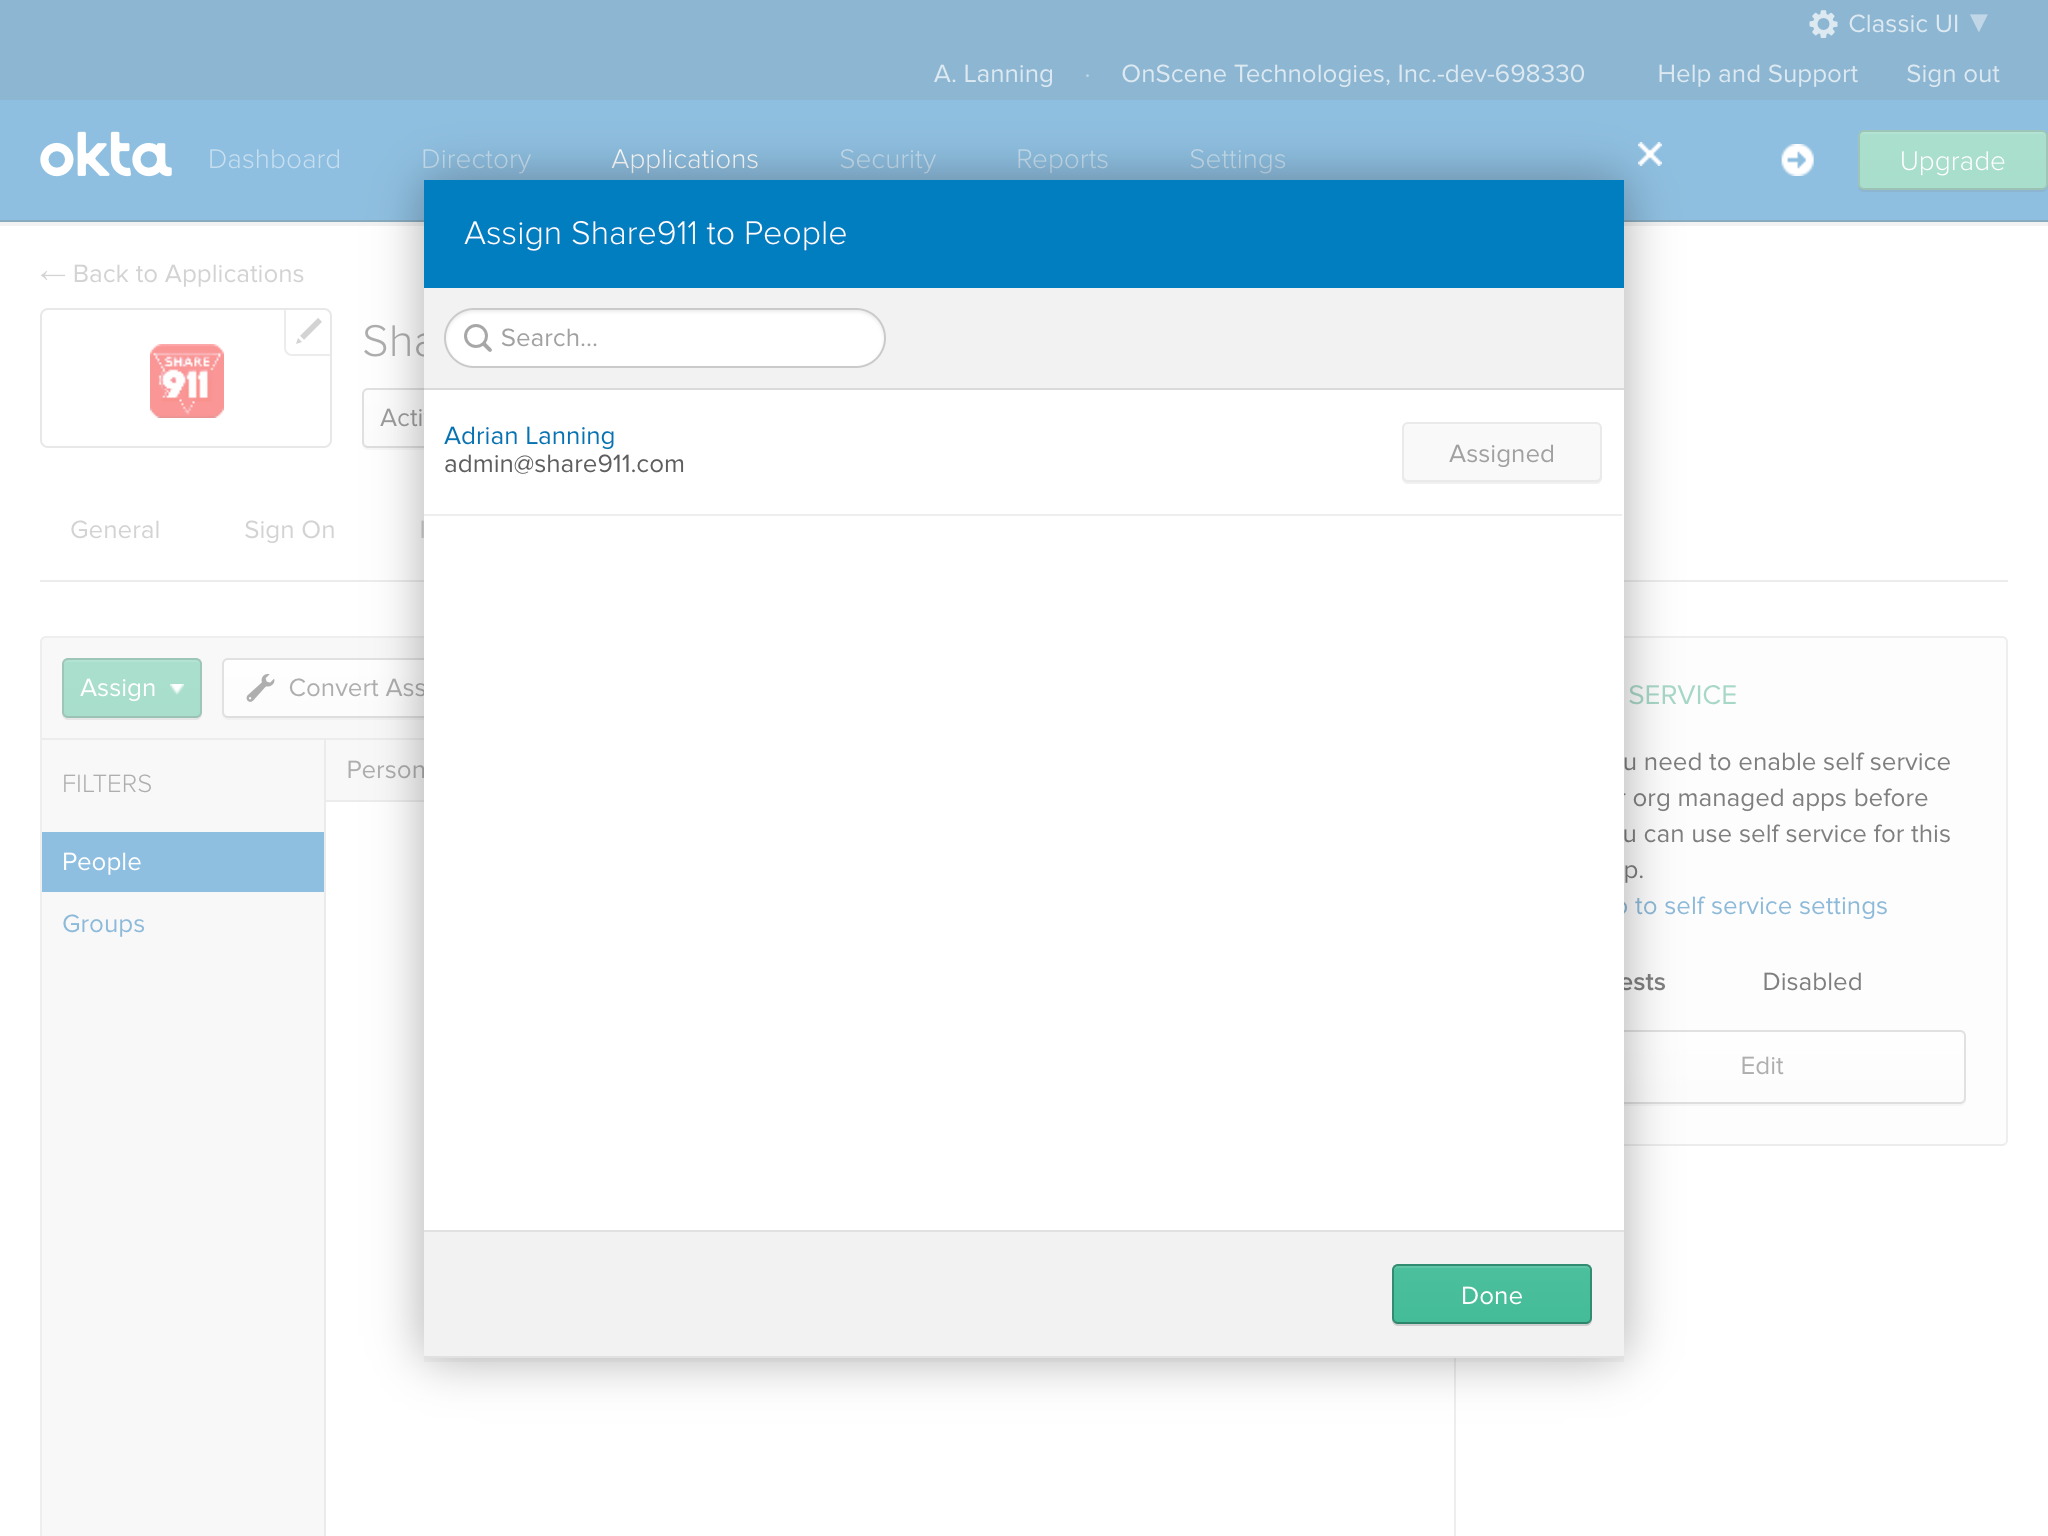
Once finished assigning people or groups, click "Done".
4. Enter OKTA-specific information into Share911
Now let's switch to the "Sign On" tab so we can gather the information Share911 needs to make the SAML requests from OKTA. Down at the bottom of the page, we'll see a blue link with the words, "Identity Provider metadata". The URL of this link is what we need to copy.
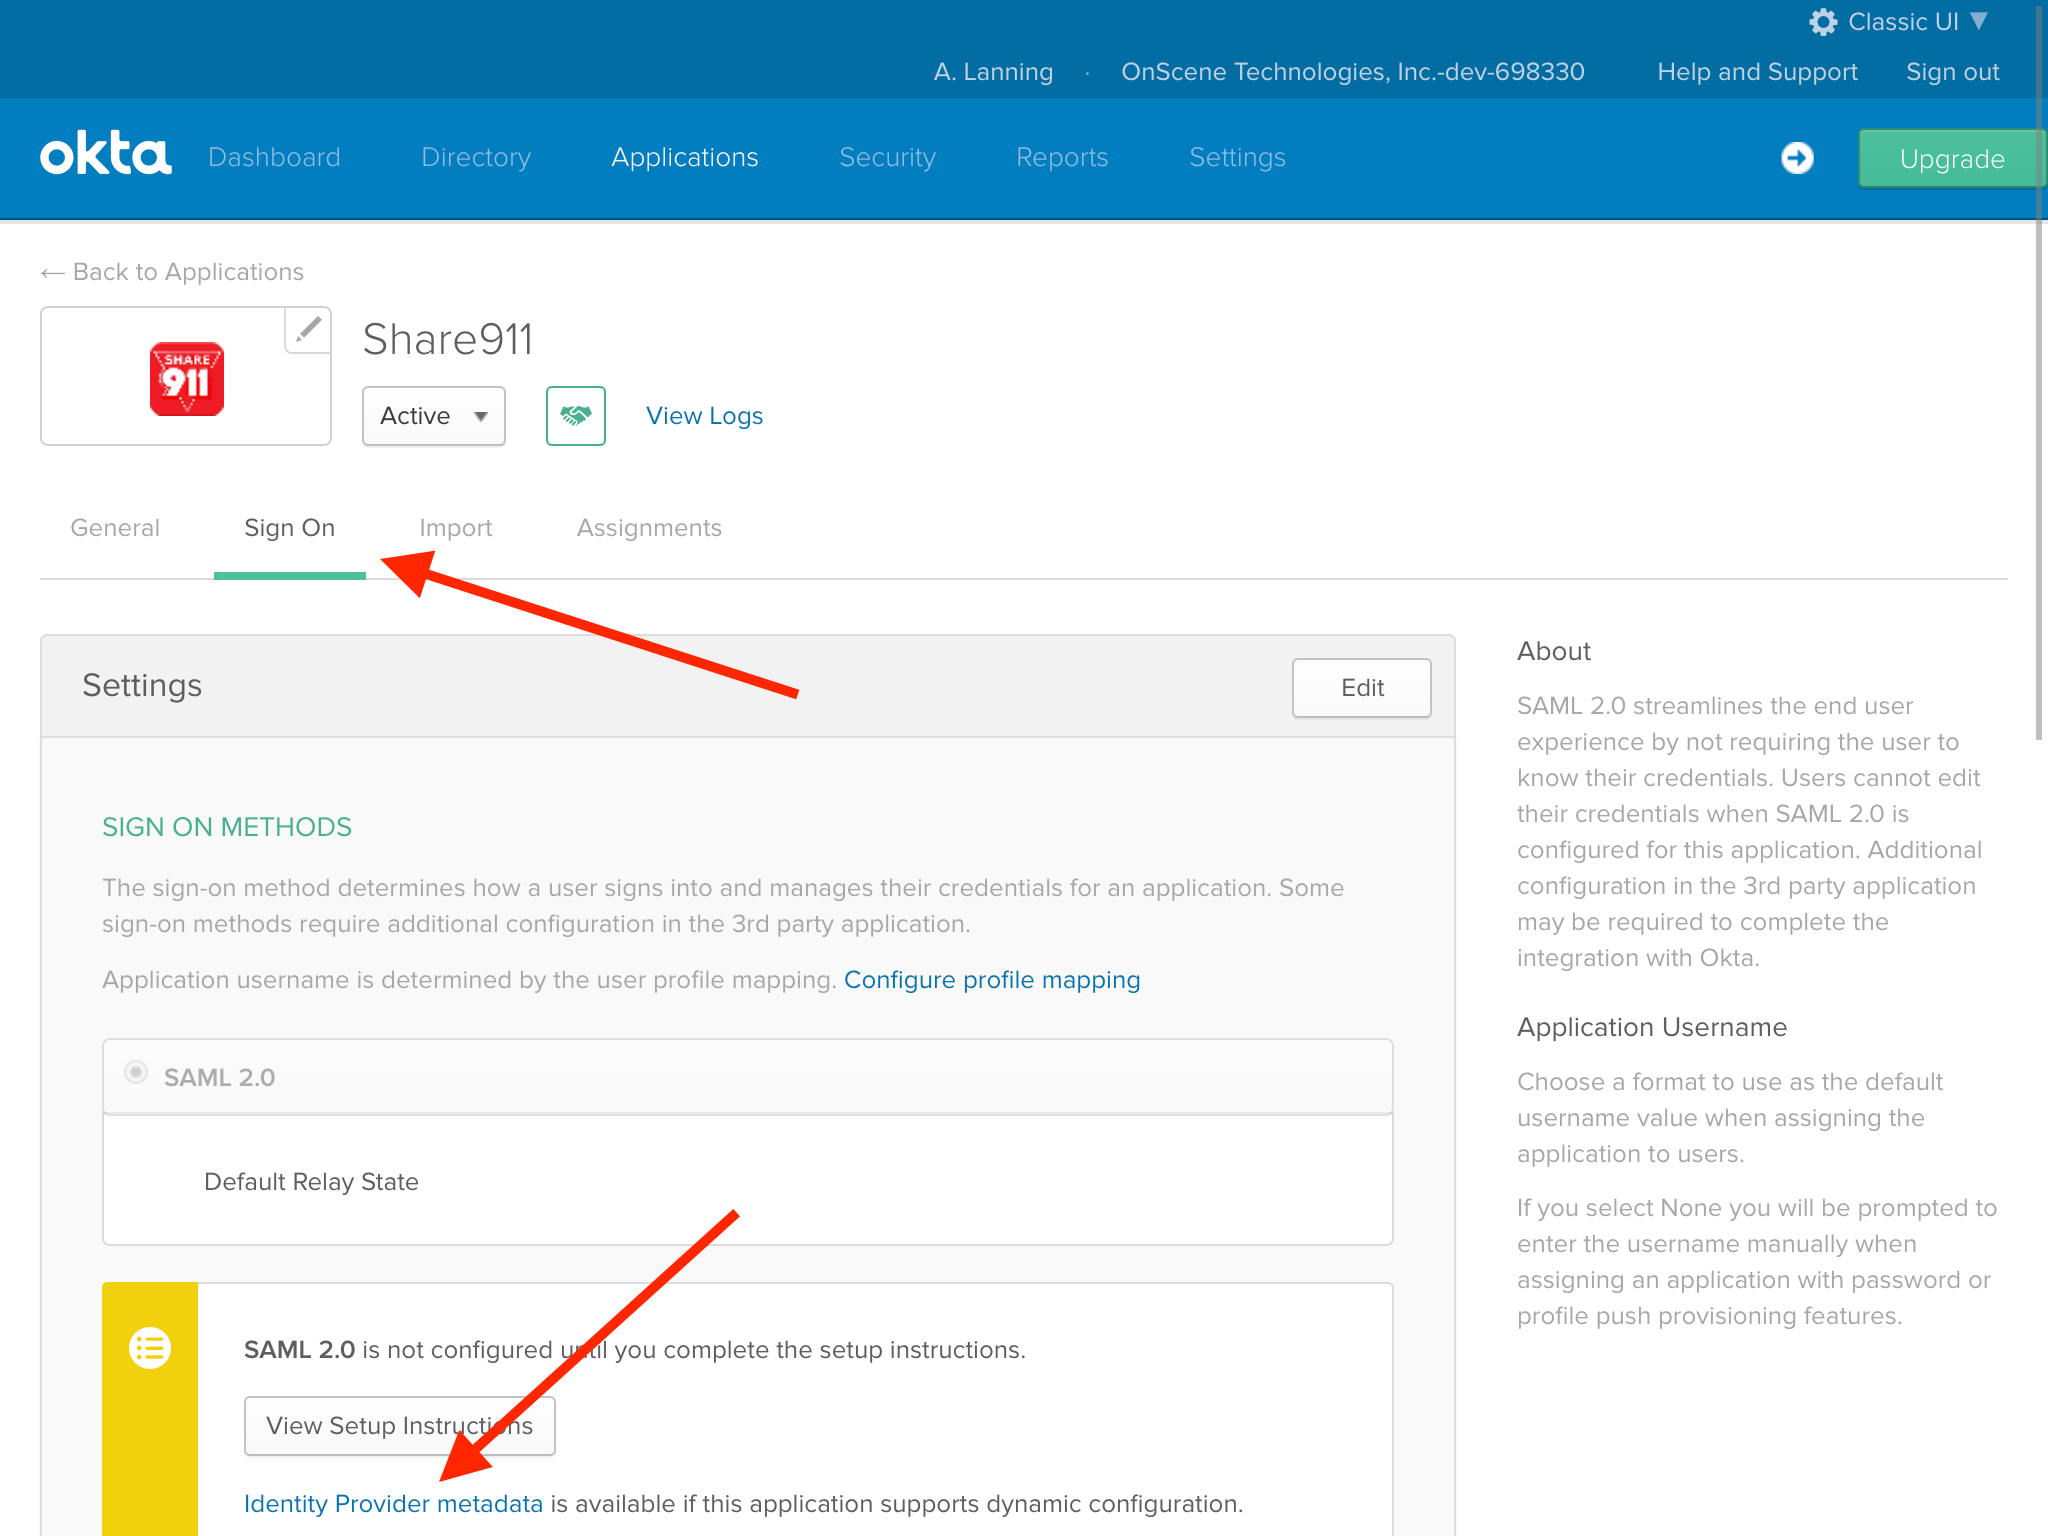
We can either right-click on the link and select "Copy Link Address" or we can open the page and get the URL by copying it from the browser's location bar at the top of the screen.
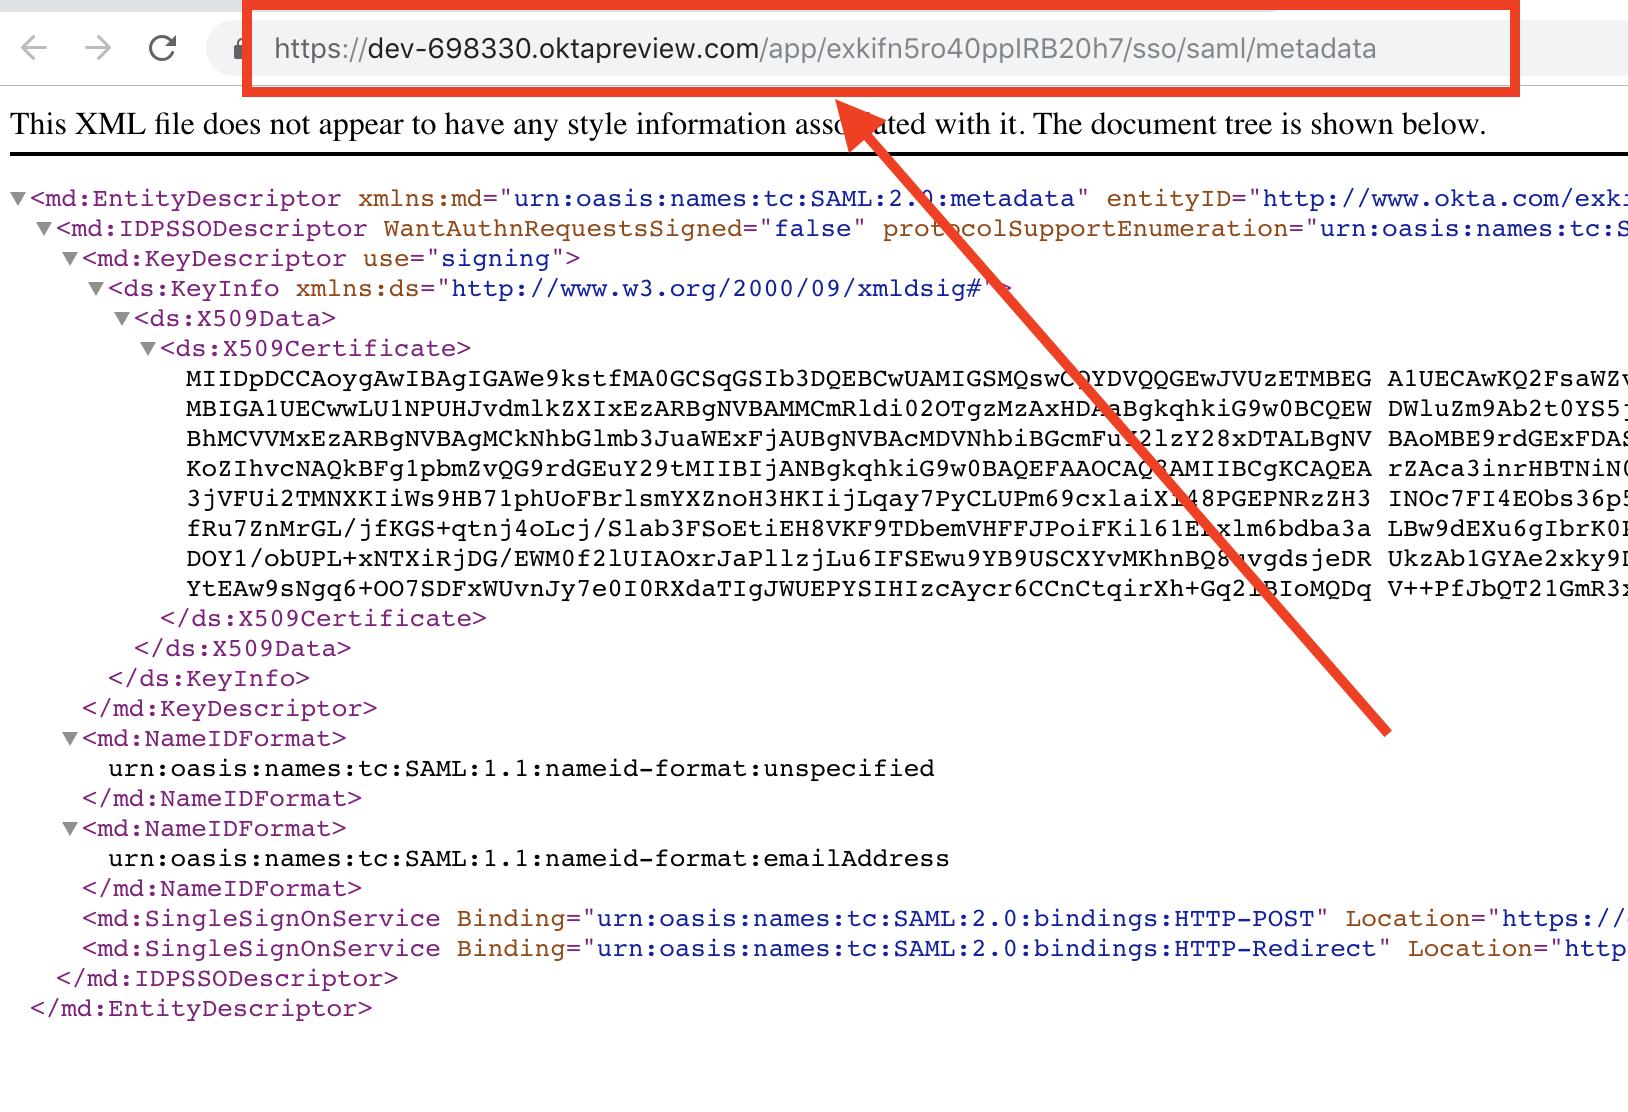
Once we have the URL copied, we can switch back to our Share911 browser tab and paste that into the Metadata Url field. Now our set up is complete in both OKTA and Share911 so we can check the Enable integration? switch to turn on SSO.
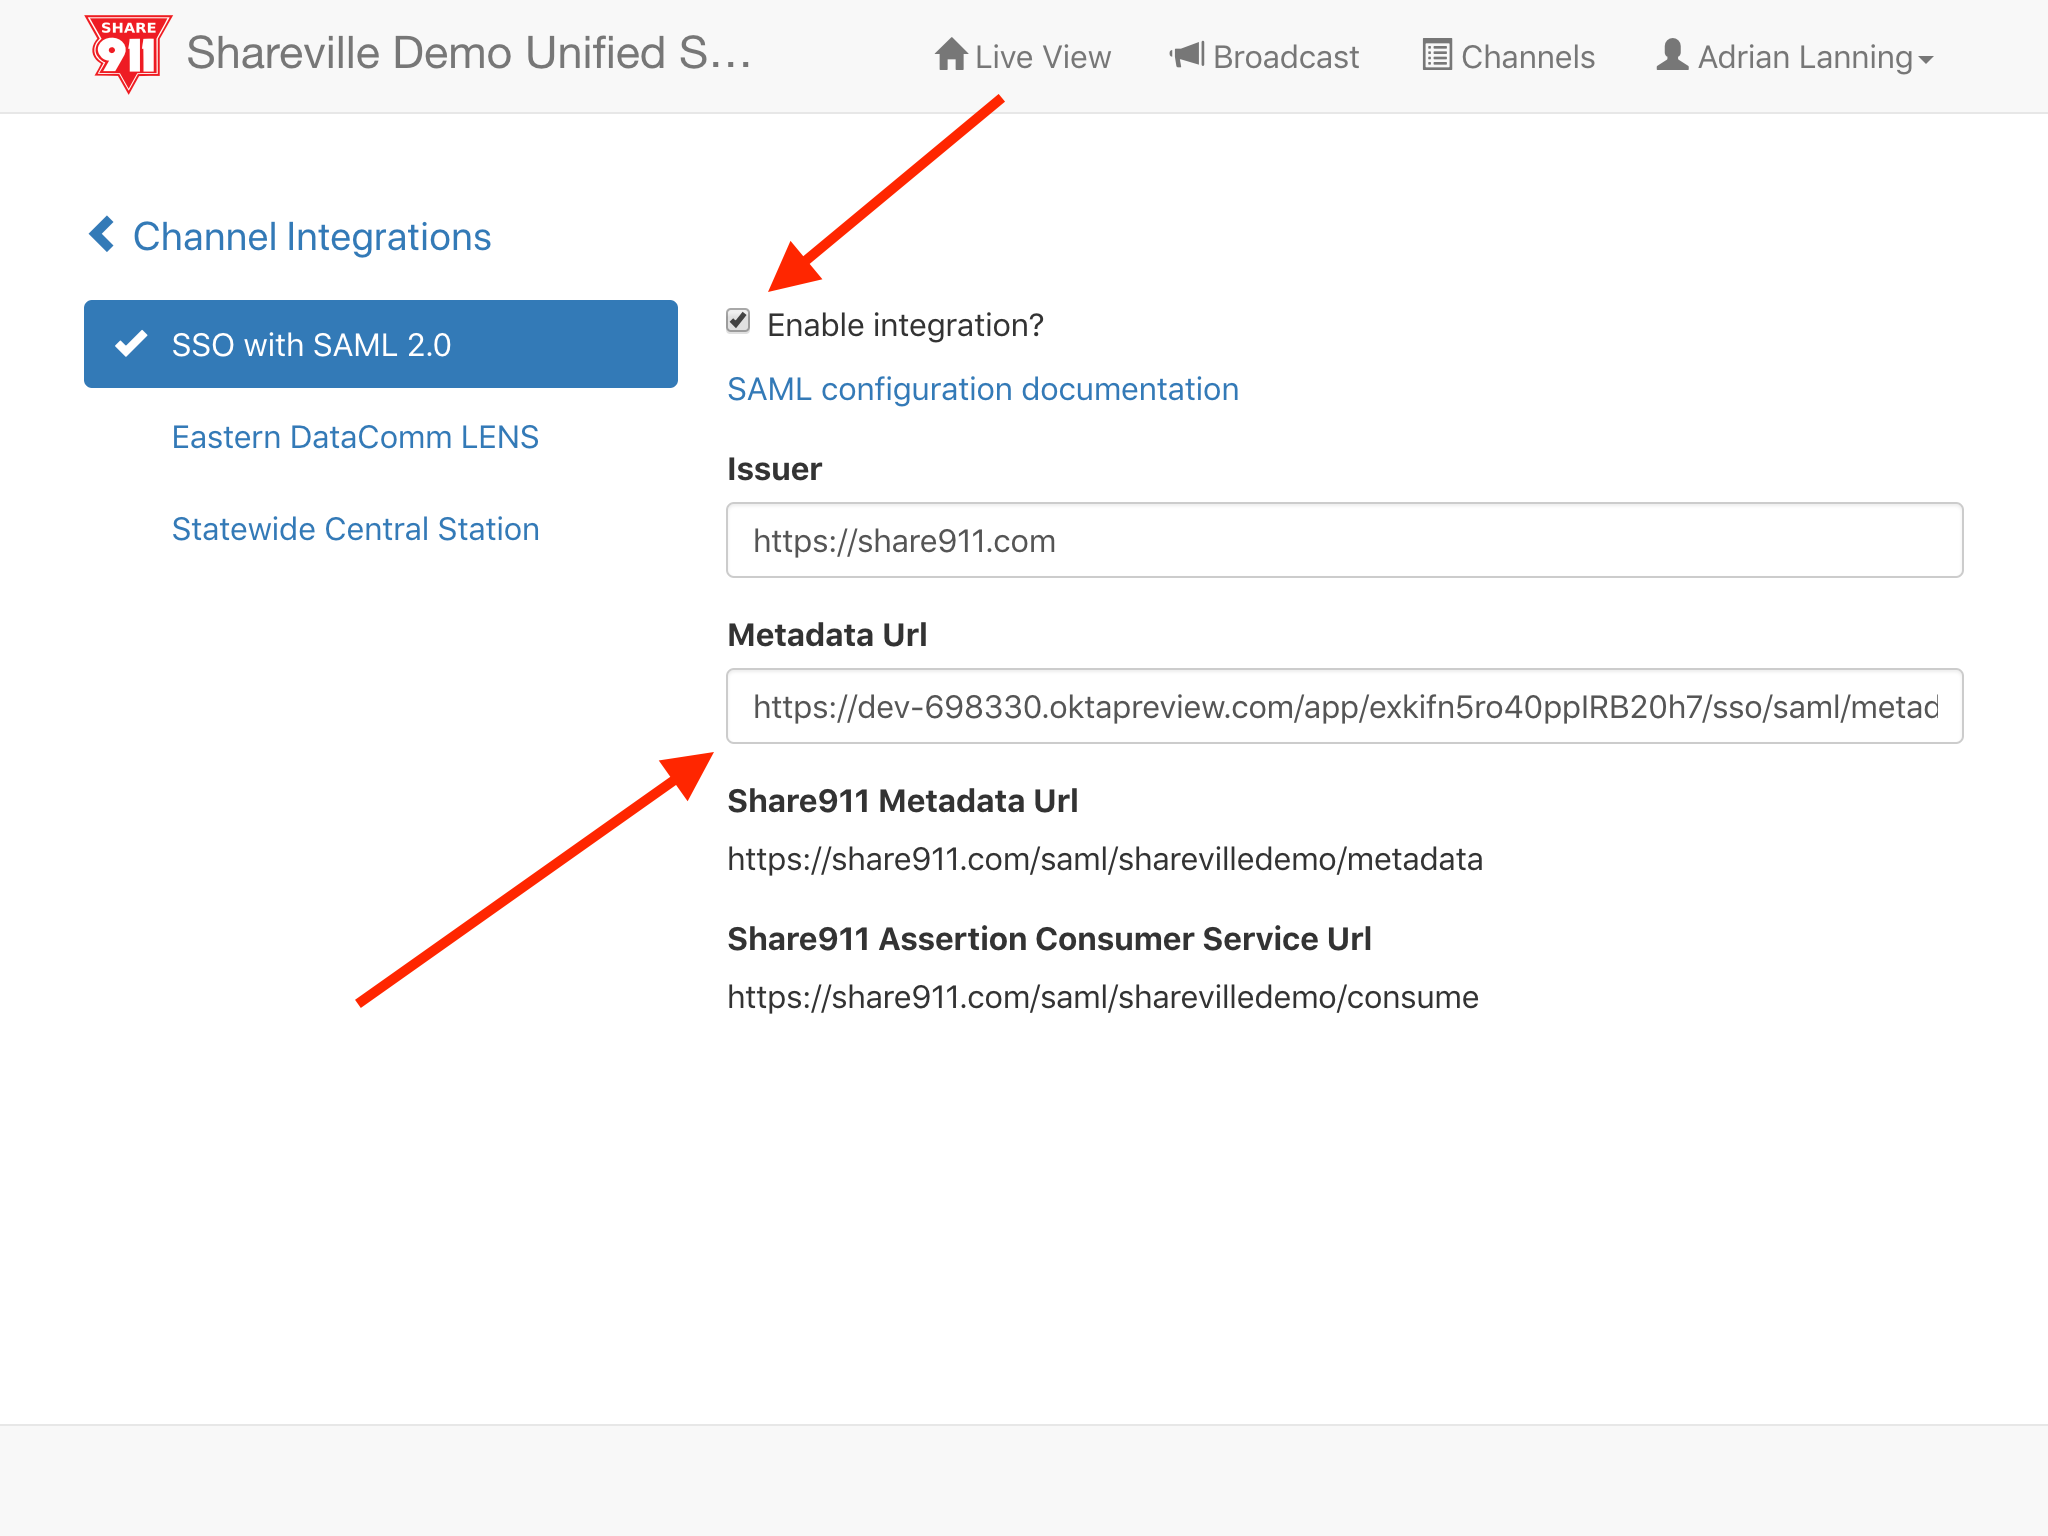
5. Ensure Registration email domain is set properly in Share911
At this point our SAML integration is completed but we also need to ensure that Share911 knows to attempt a SAML login for our users. To do this we need to ensure that the email domain set in the Share911 Registration page is correct for your organization.
Let's check by first clicking "< Channel Integrations" to go back to the main Manage Channel page, then selecting "Registration" to open the "User Registration" page.
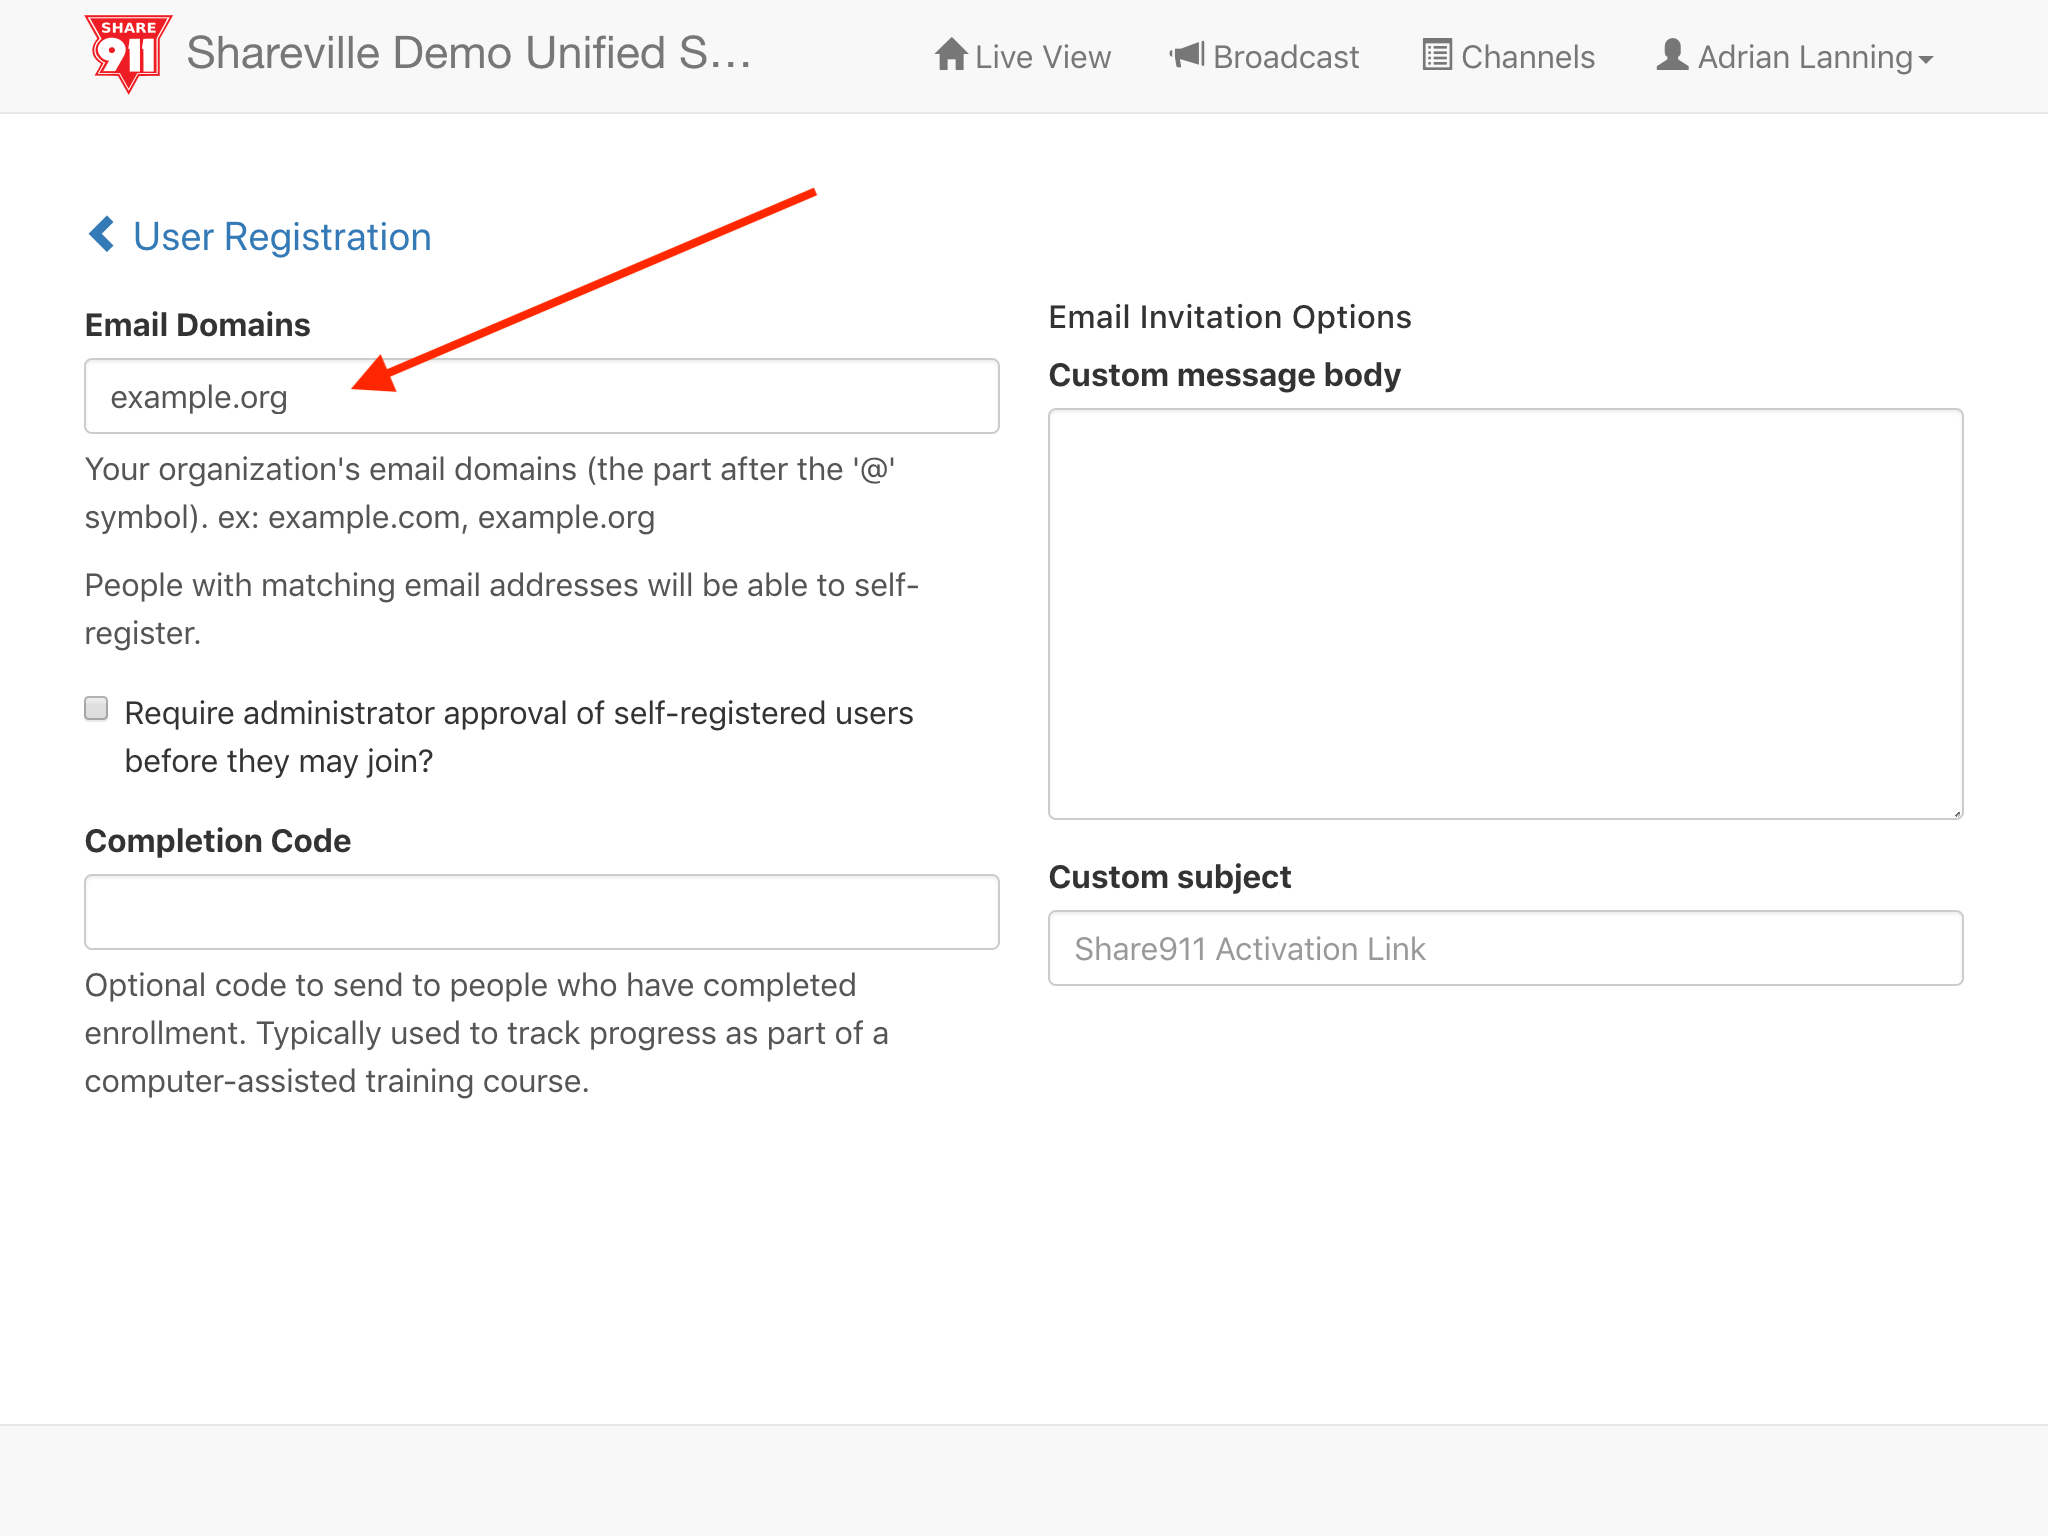
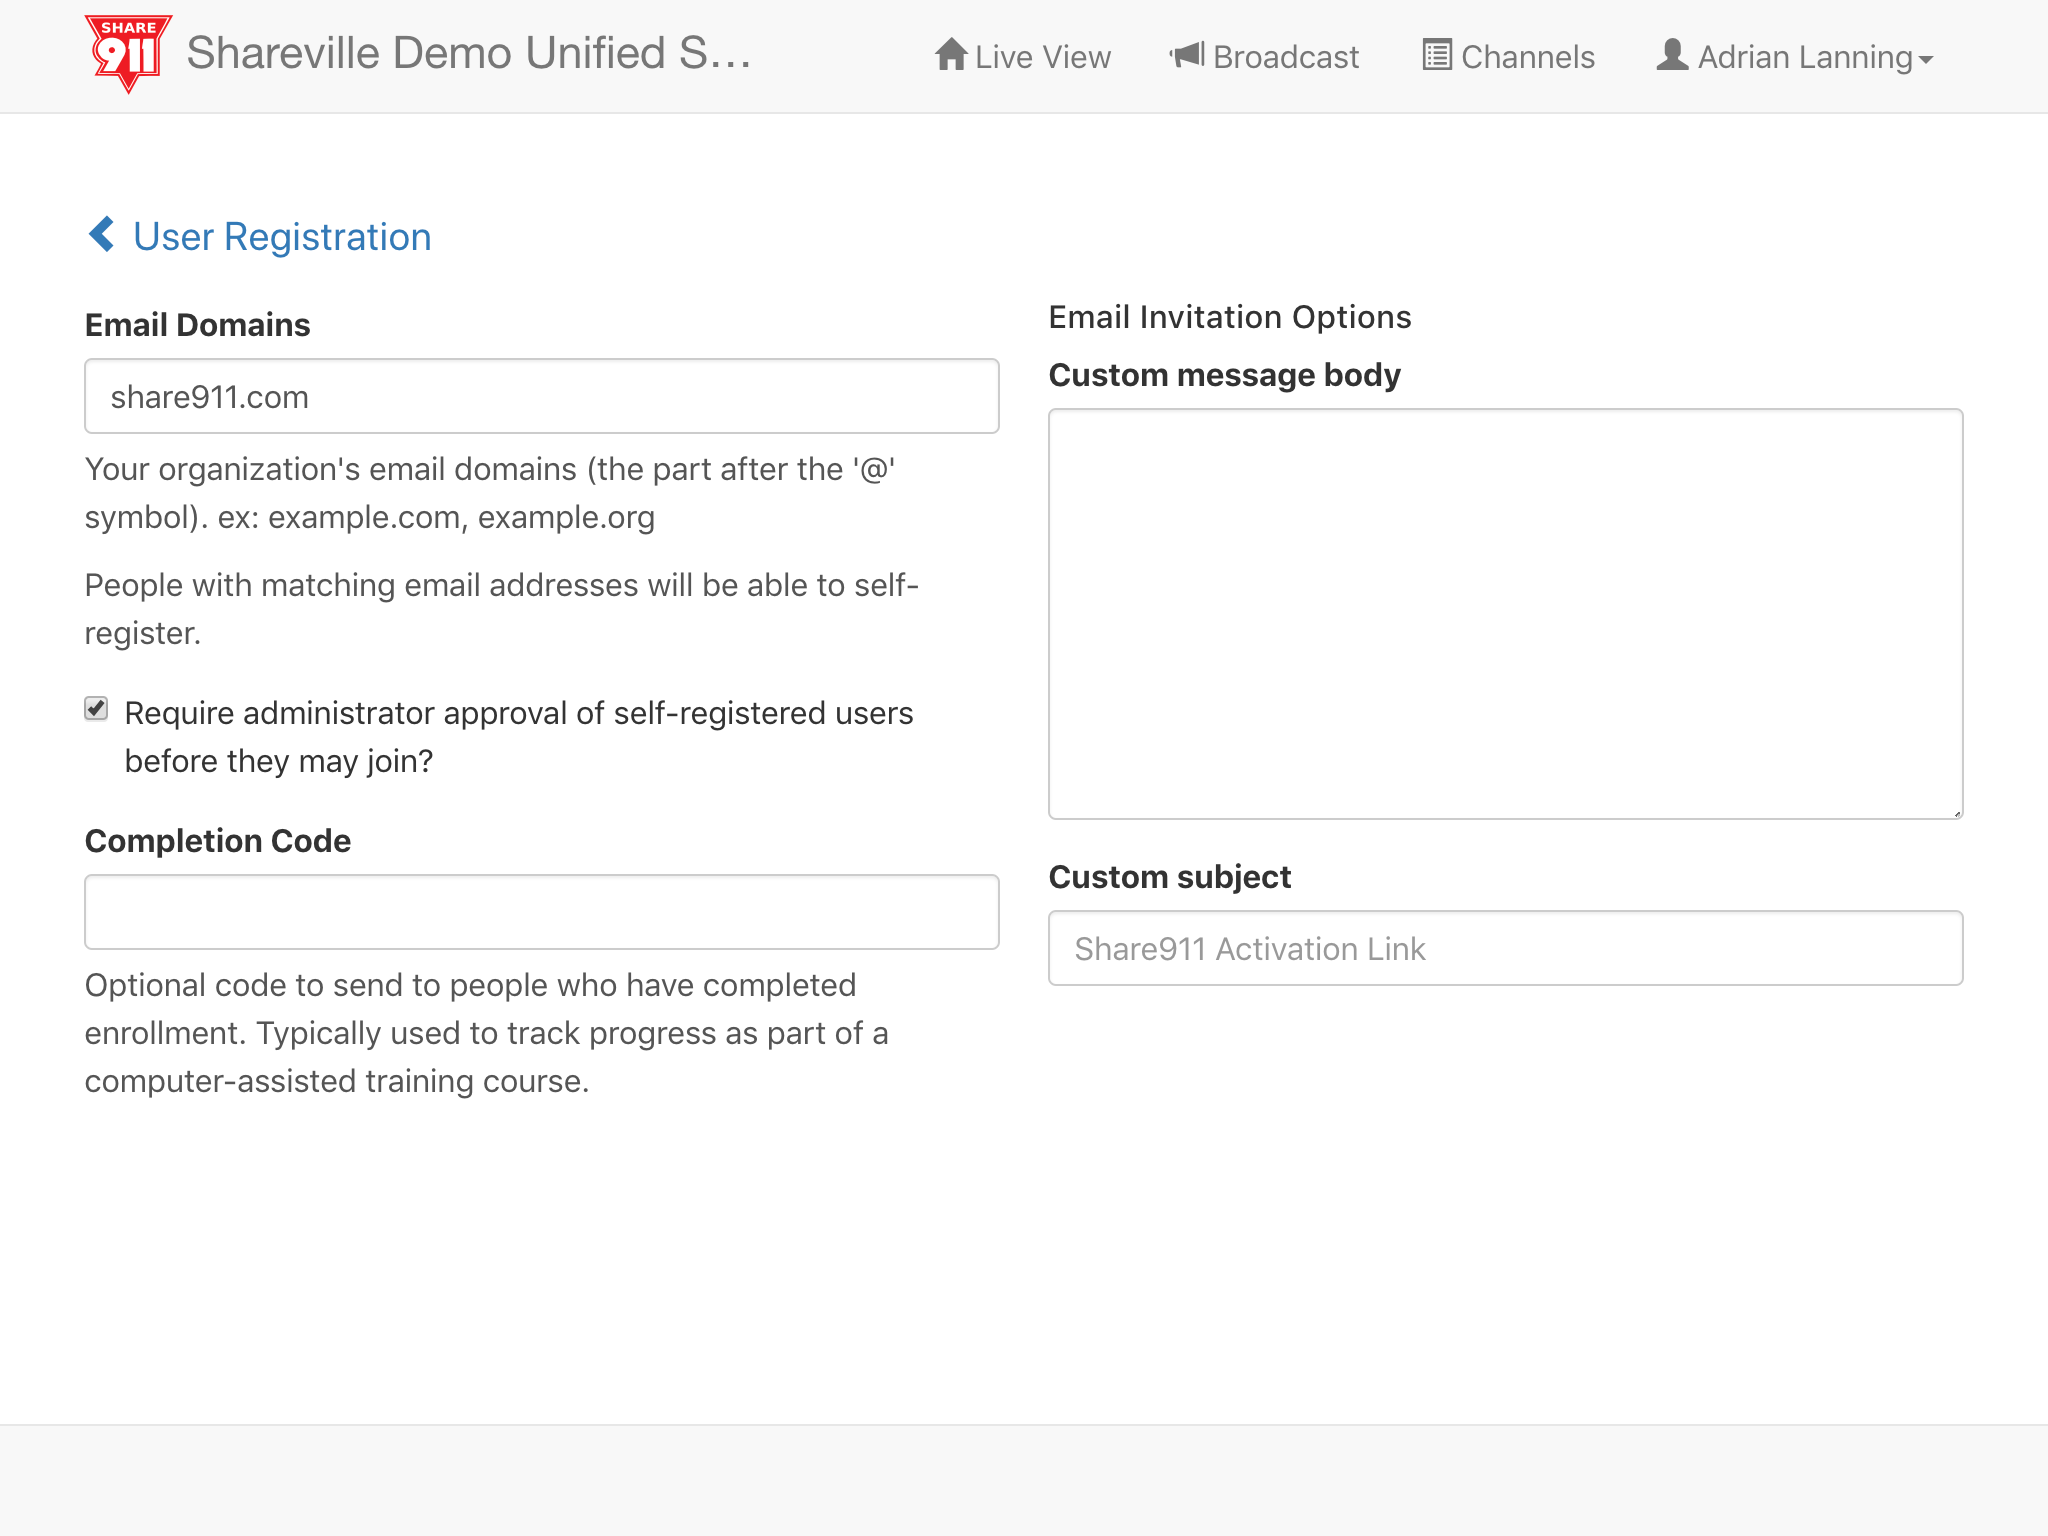
Ensure that the Email Domains field has the correct email domain(s) for your organization. Since we do not want staff to be able to join this top-level channel when Self-Registering, let's also check the "Require administrator approval..." check box. (This is just a precaution and does not usually happen).
6. Test SSO login to Share911
Now we can test our SAML integration. To do so, let's log out of our Share911 account and re-enter our email address into the Share911 login page. We should now see the option to "Log in with SAML".
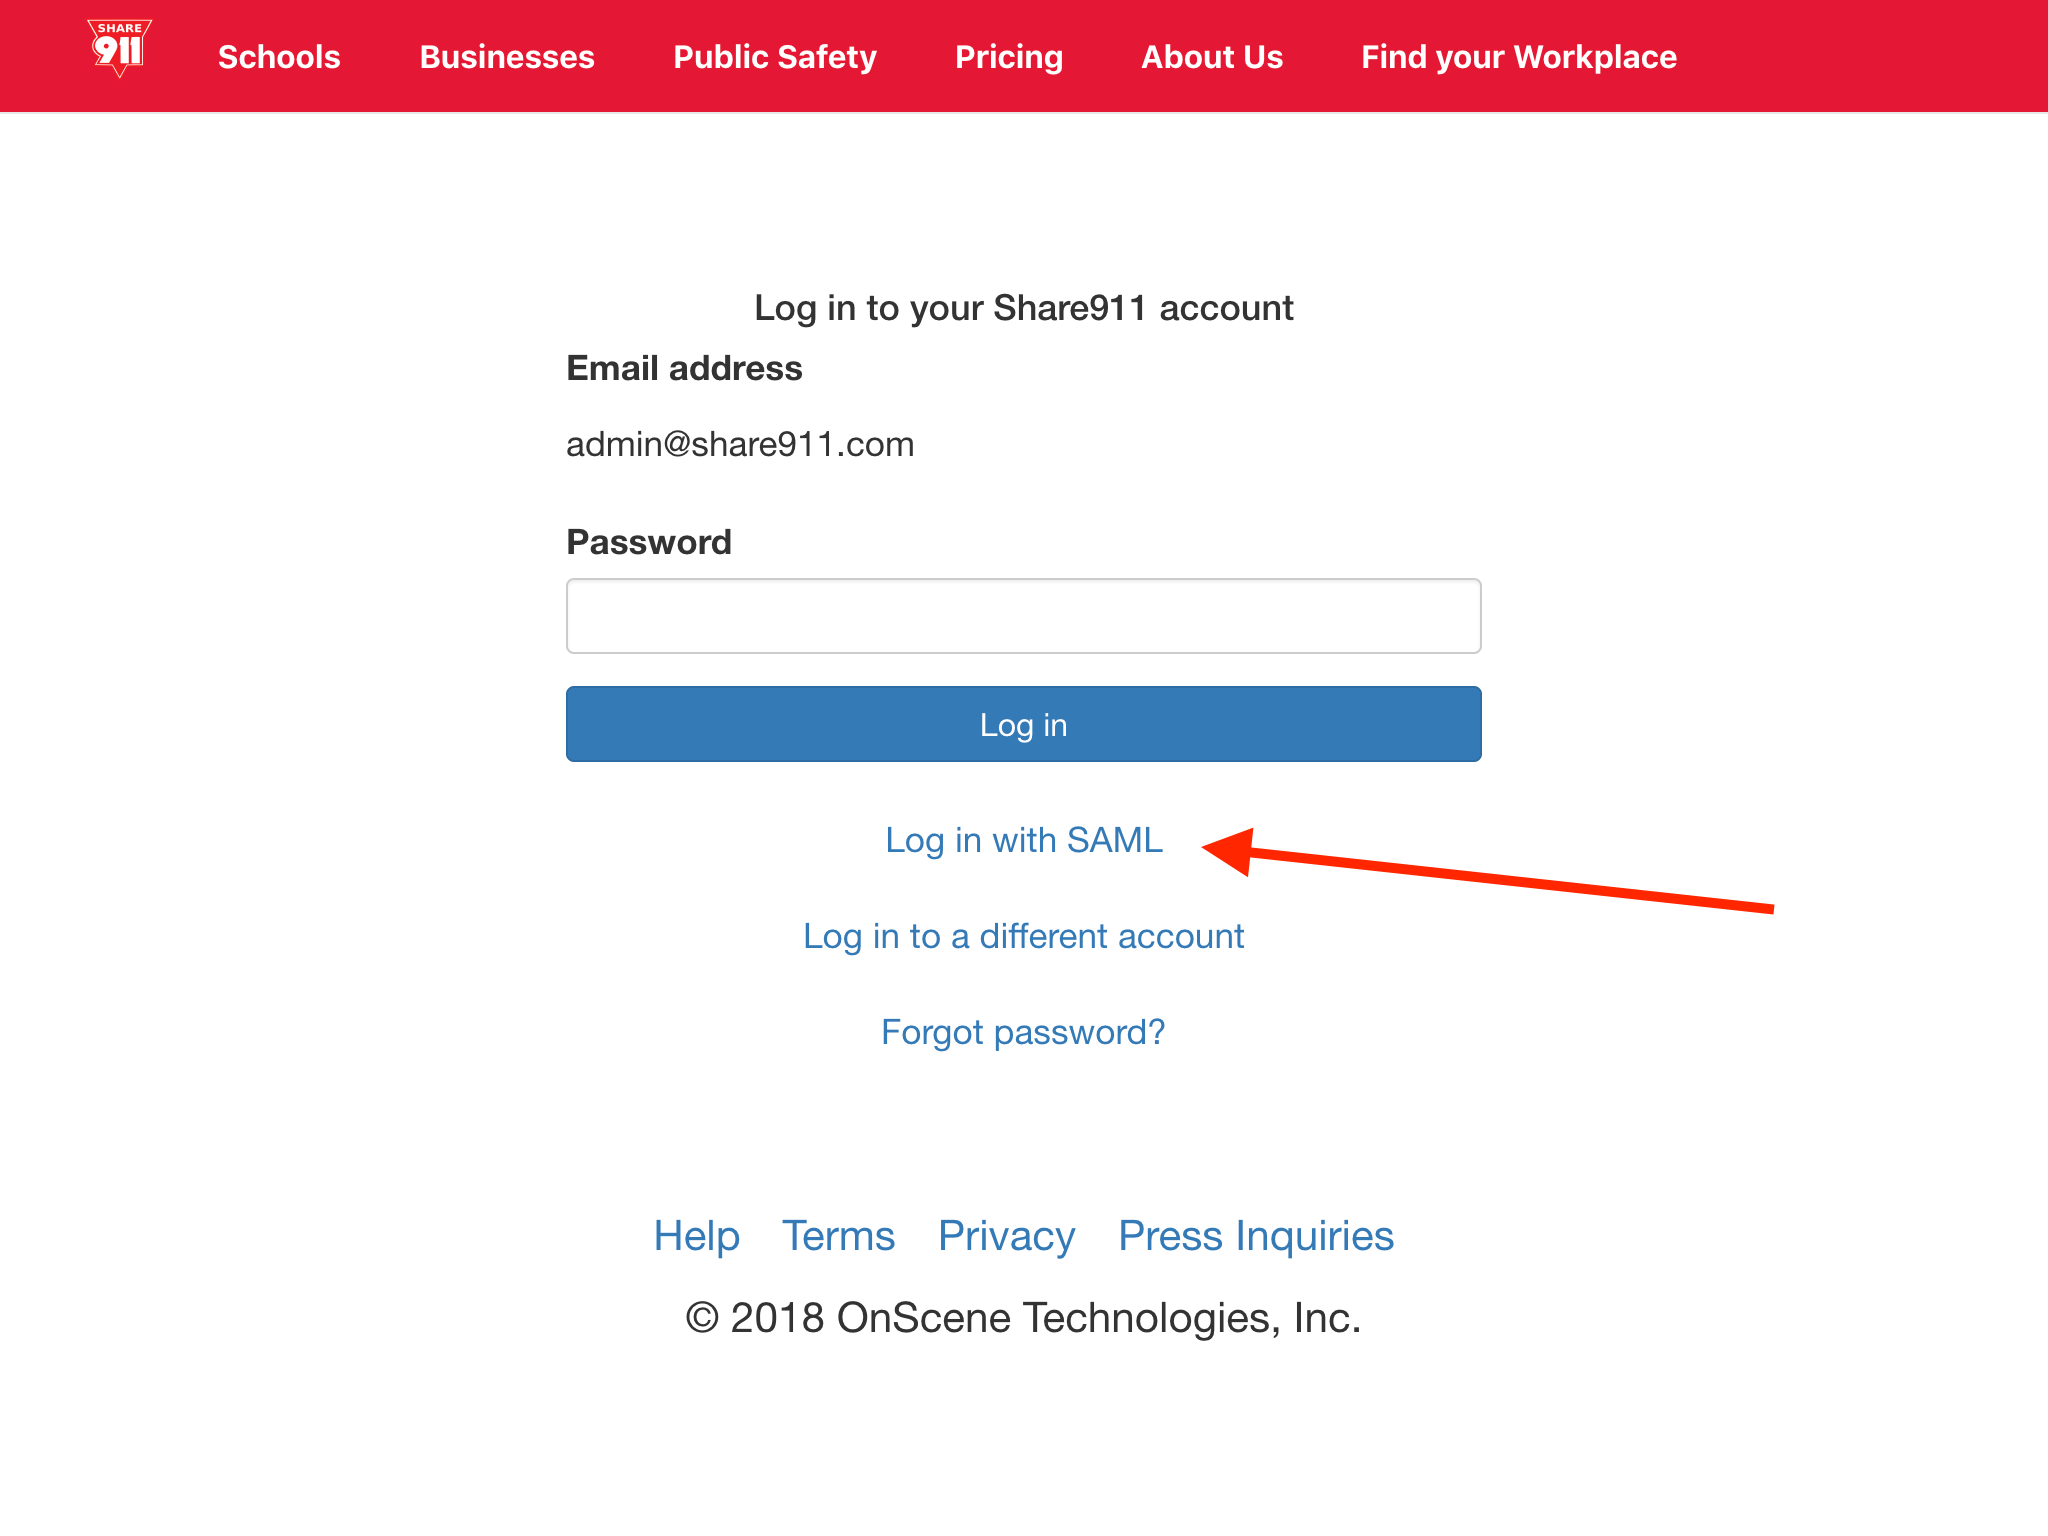
Clicking that link will initiate a SSO SAML request to OKTA and should grant access to our Share911 account. If not, please contact support@share911.com so that we can help troubleshoot what went wrong.
Share911 will remember our last login method so the next time that we visits the Share911 login screen, we will see this form instead:
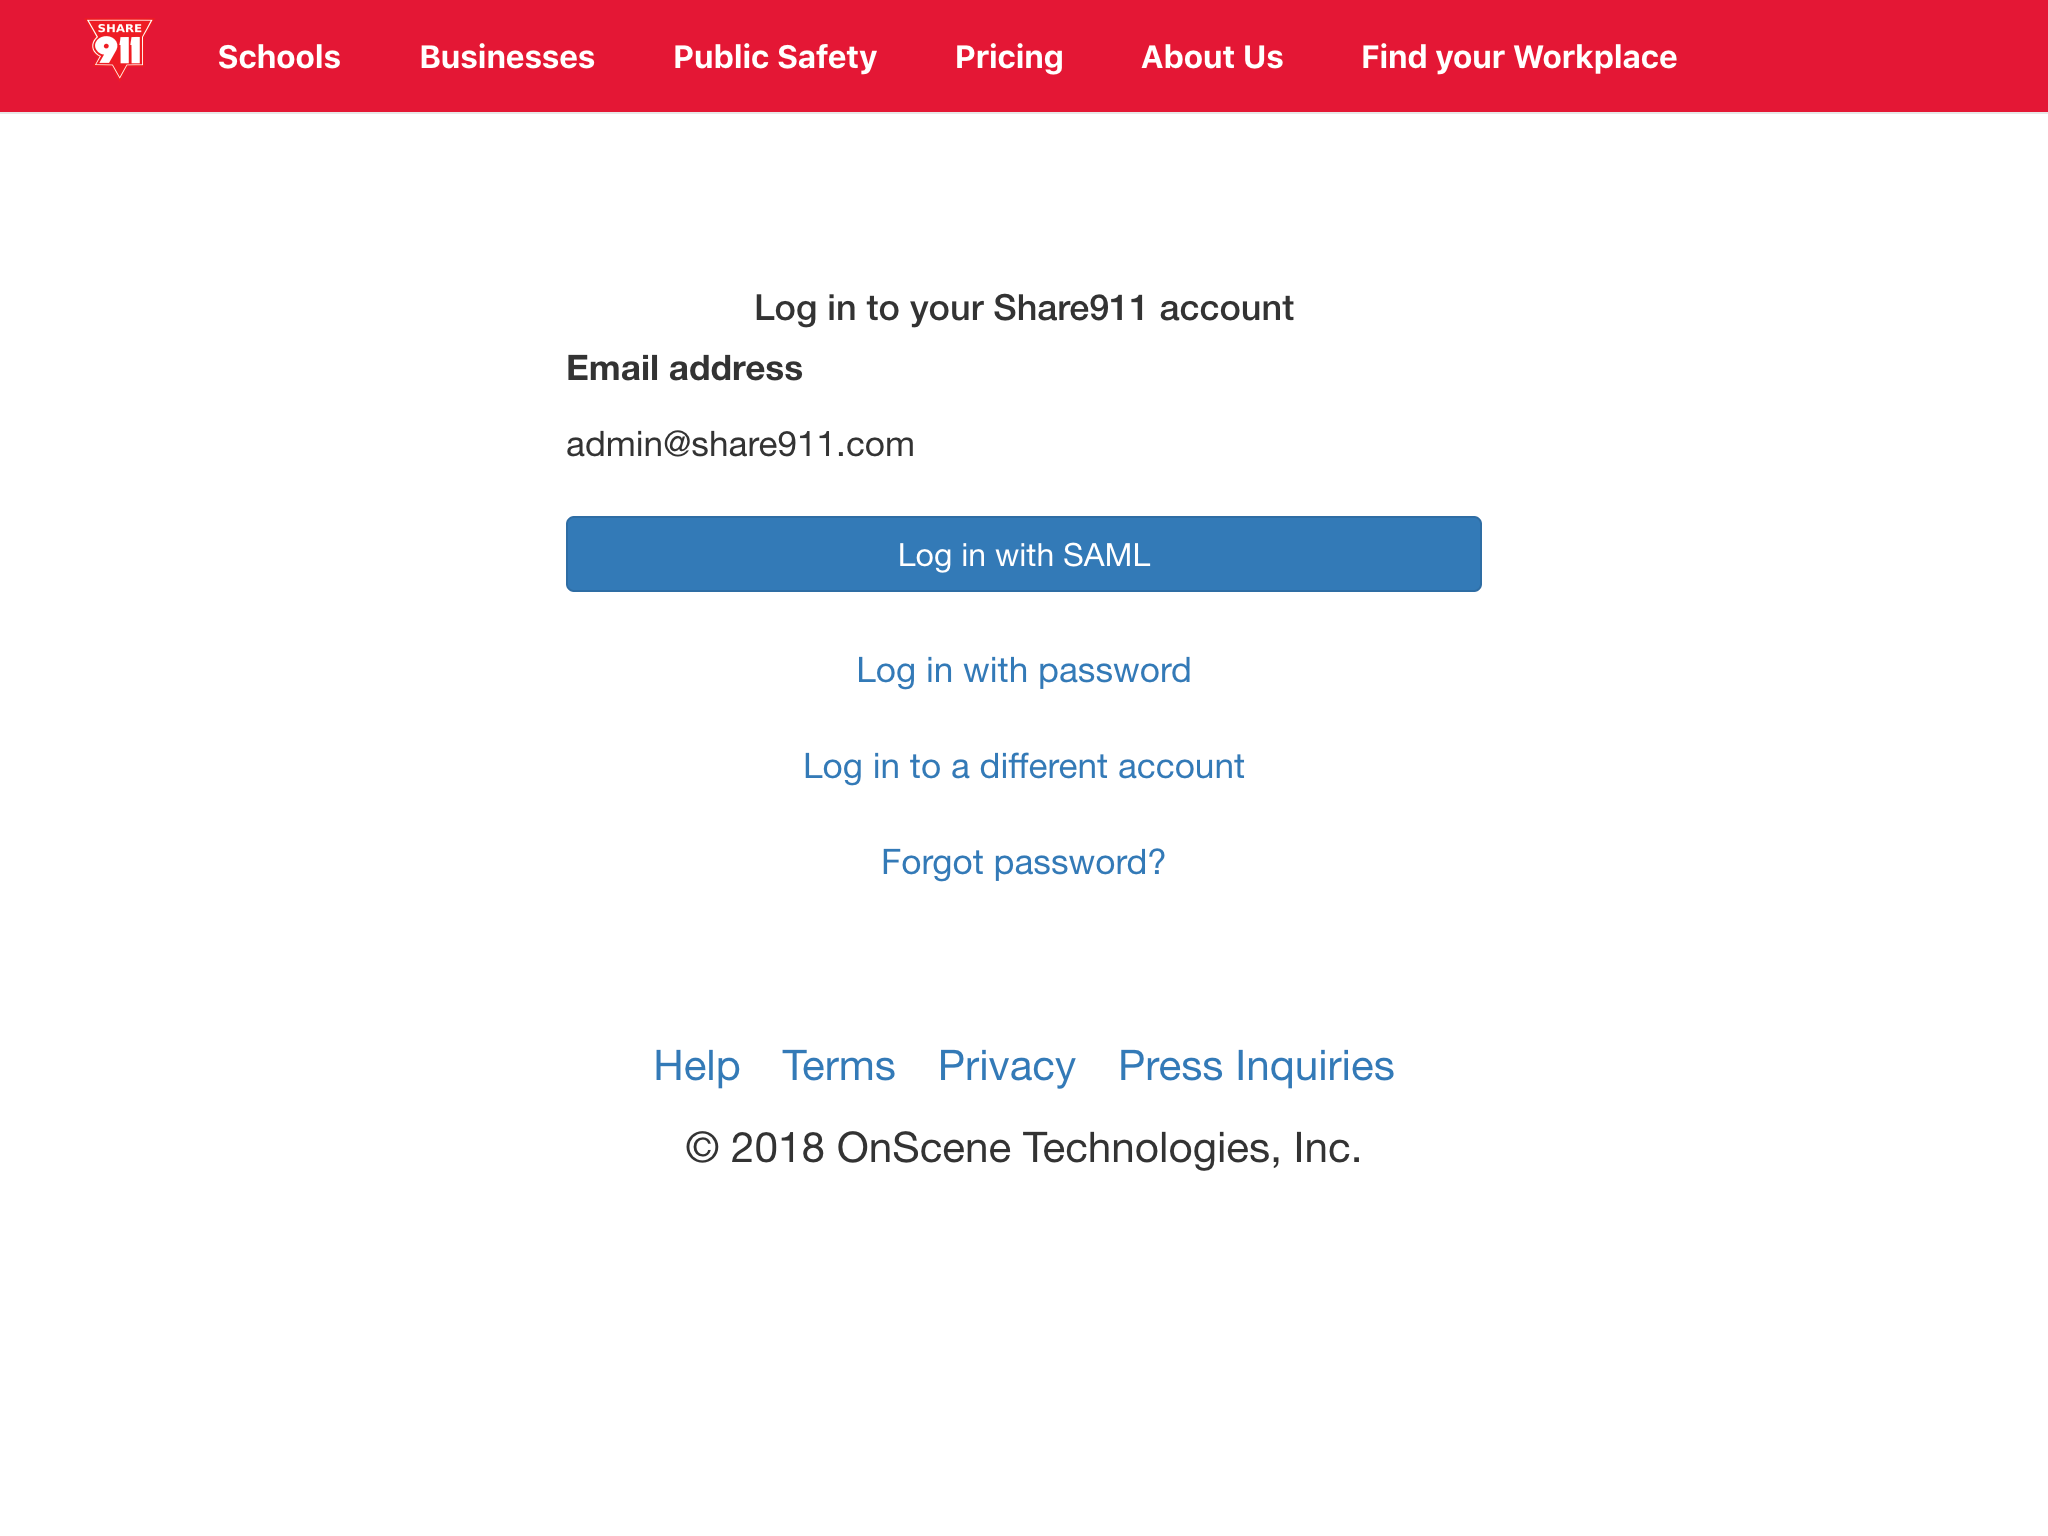
And we're done!

