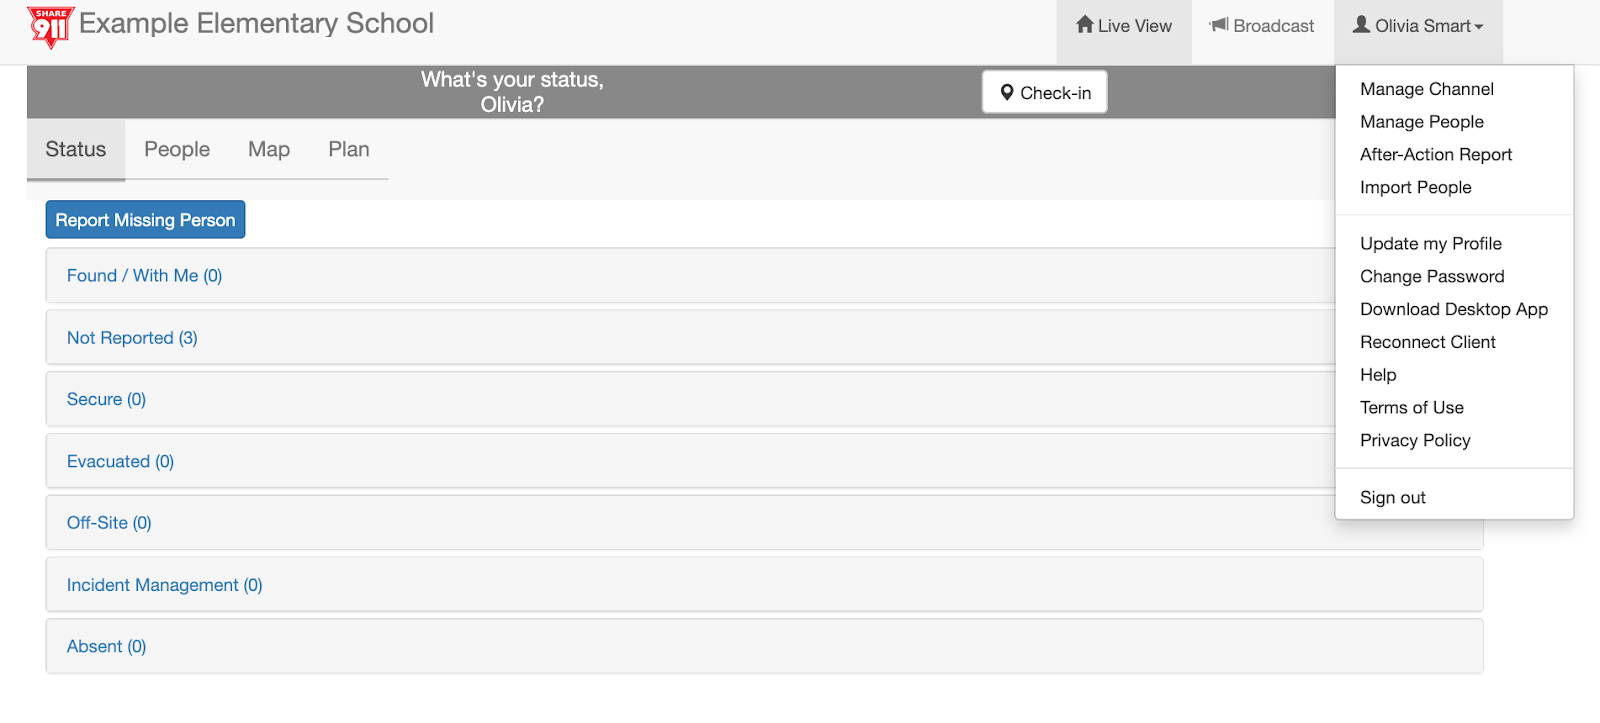
If you have been provided with Manage Channel permission by the Share911 / Share999 team, you can access this feature by logging into your Share911 / Share999 account, clicking or tapping on your name or the word "menu" in the upper right corner and then select "Manage Channel"
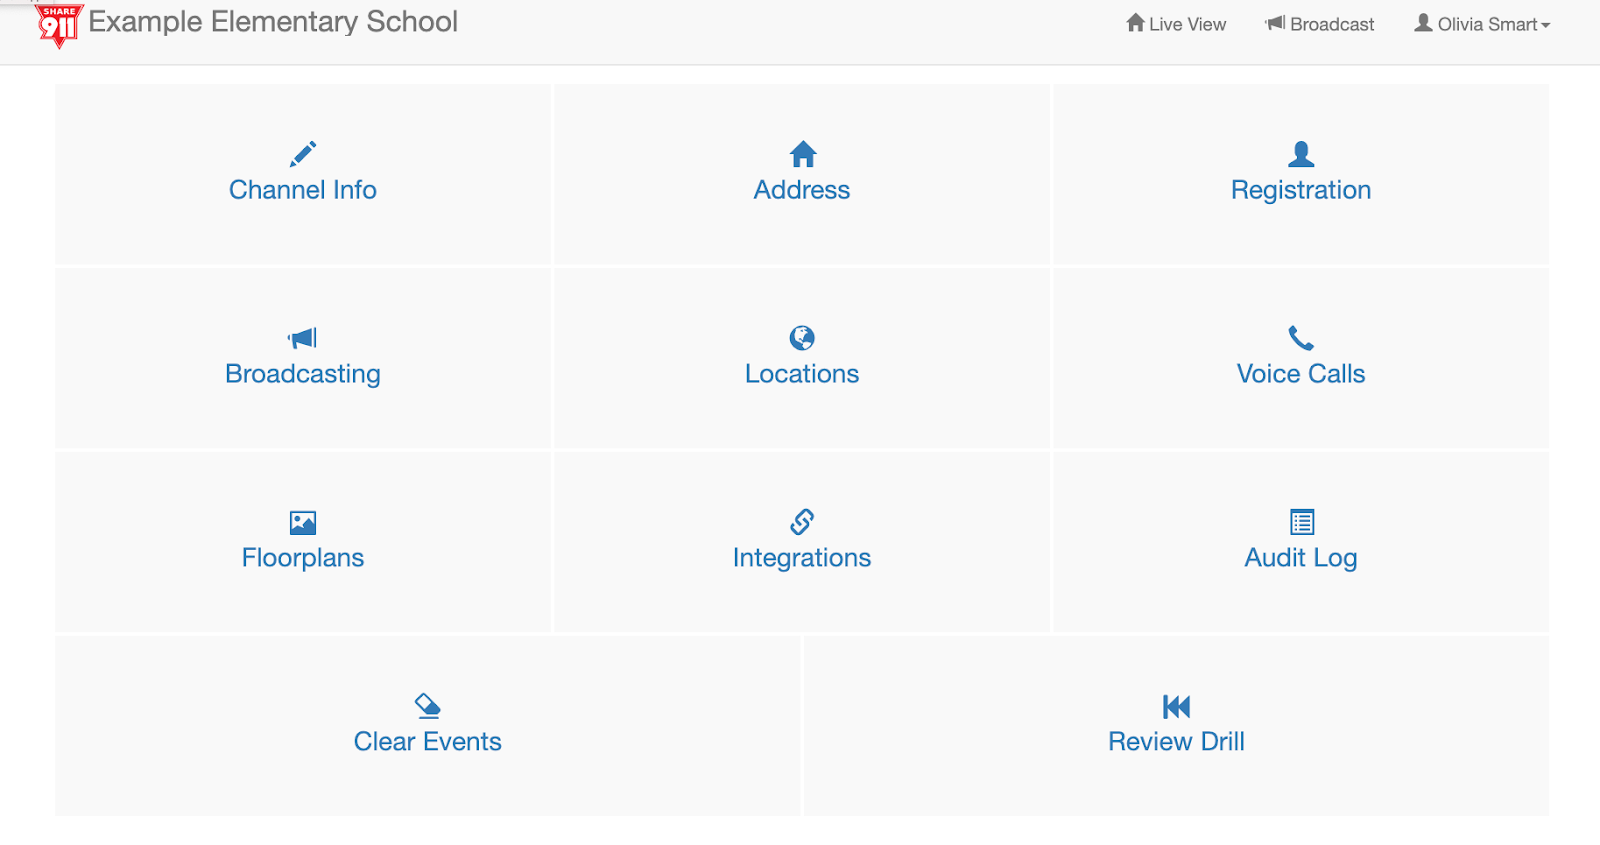
Next, from the Manage Channel page, select Locations.
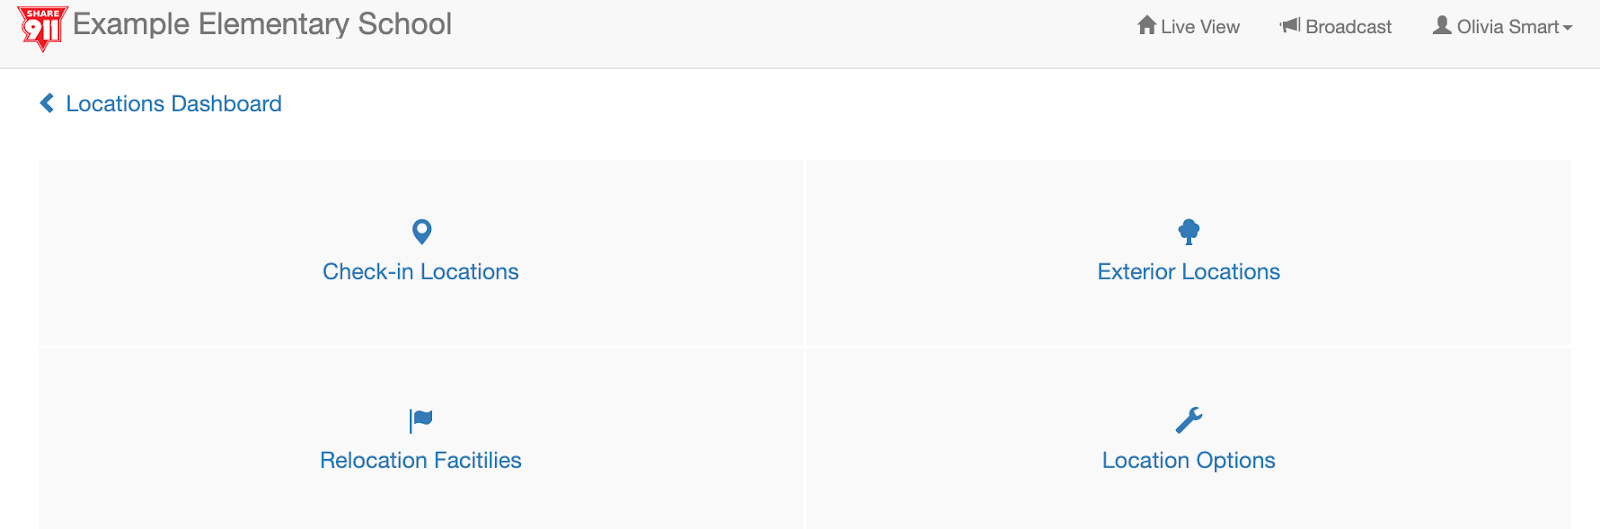
From the Locations Dashboard, select Check-in Locations.
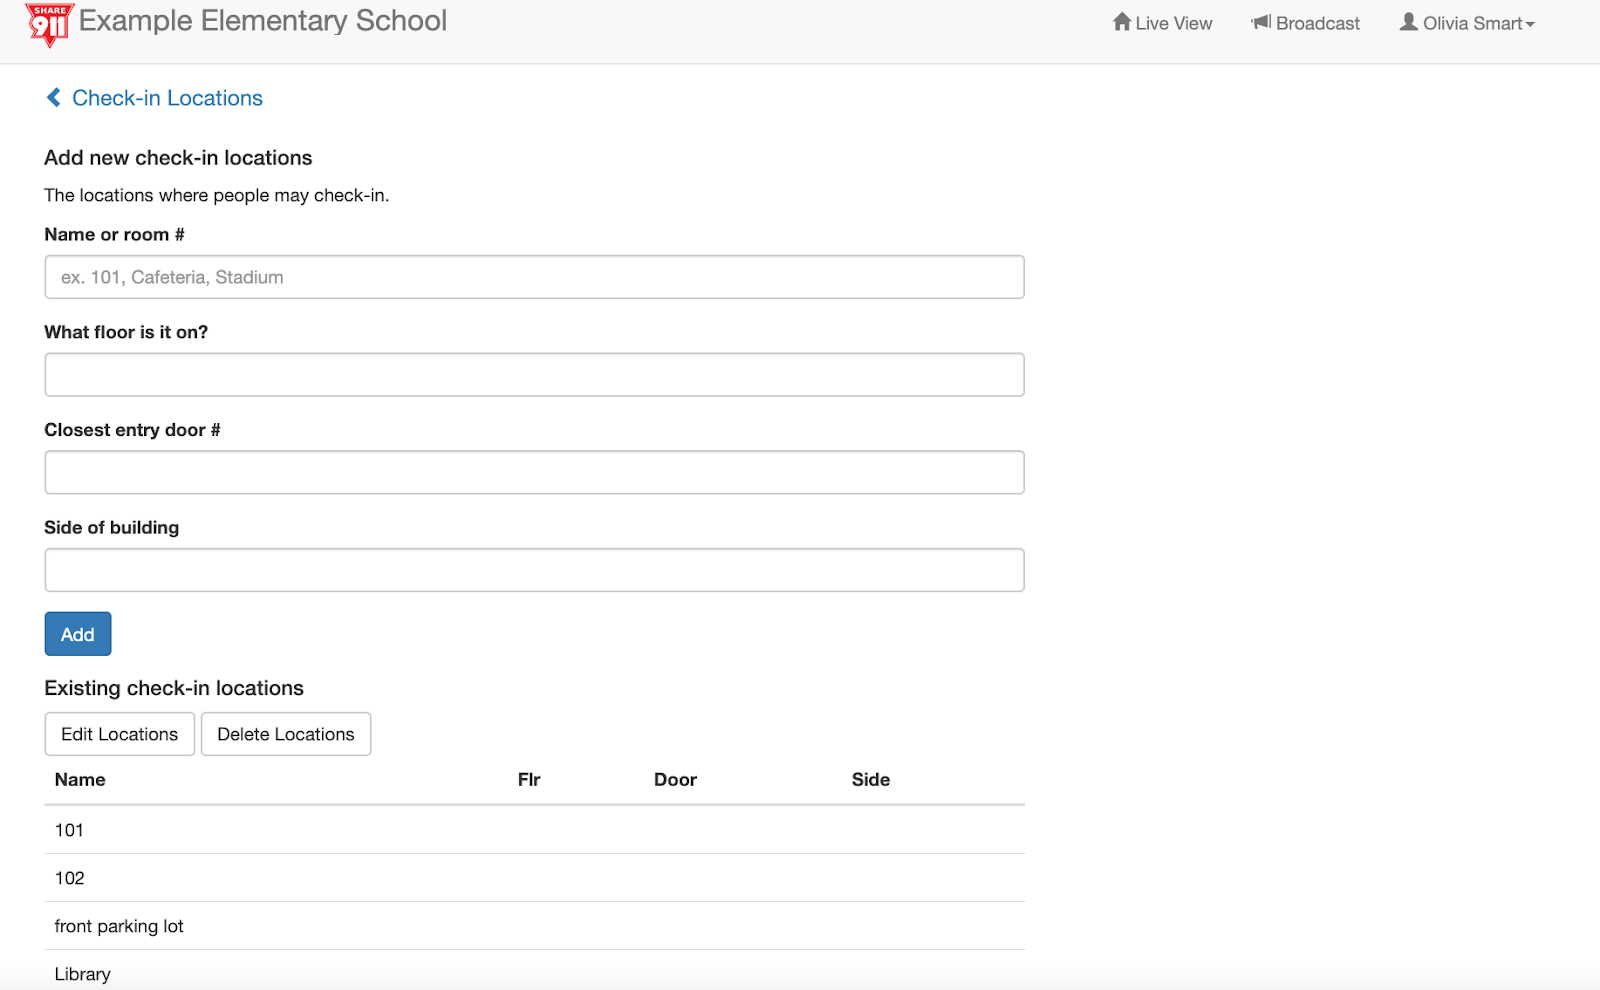
To add a new Check-In location, simply enter the name or number of the location, what floor it is on (optional), what the closest entry door to get to it is (optional) and what side of the building it is on (optional). If it is an exterior location, simply enter the name. To add your new location, tap or click the Add button. To edit or delete an existing location, scroll down and select the appropriate button.
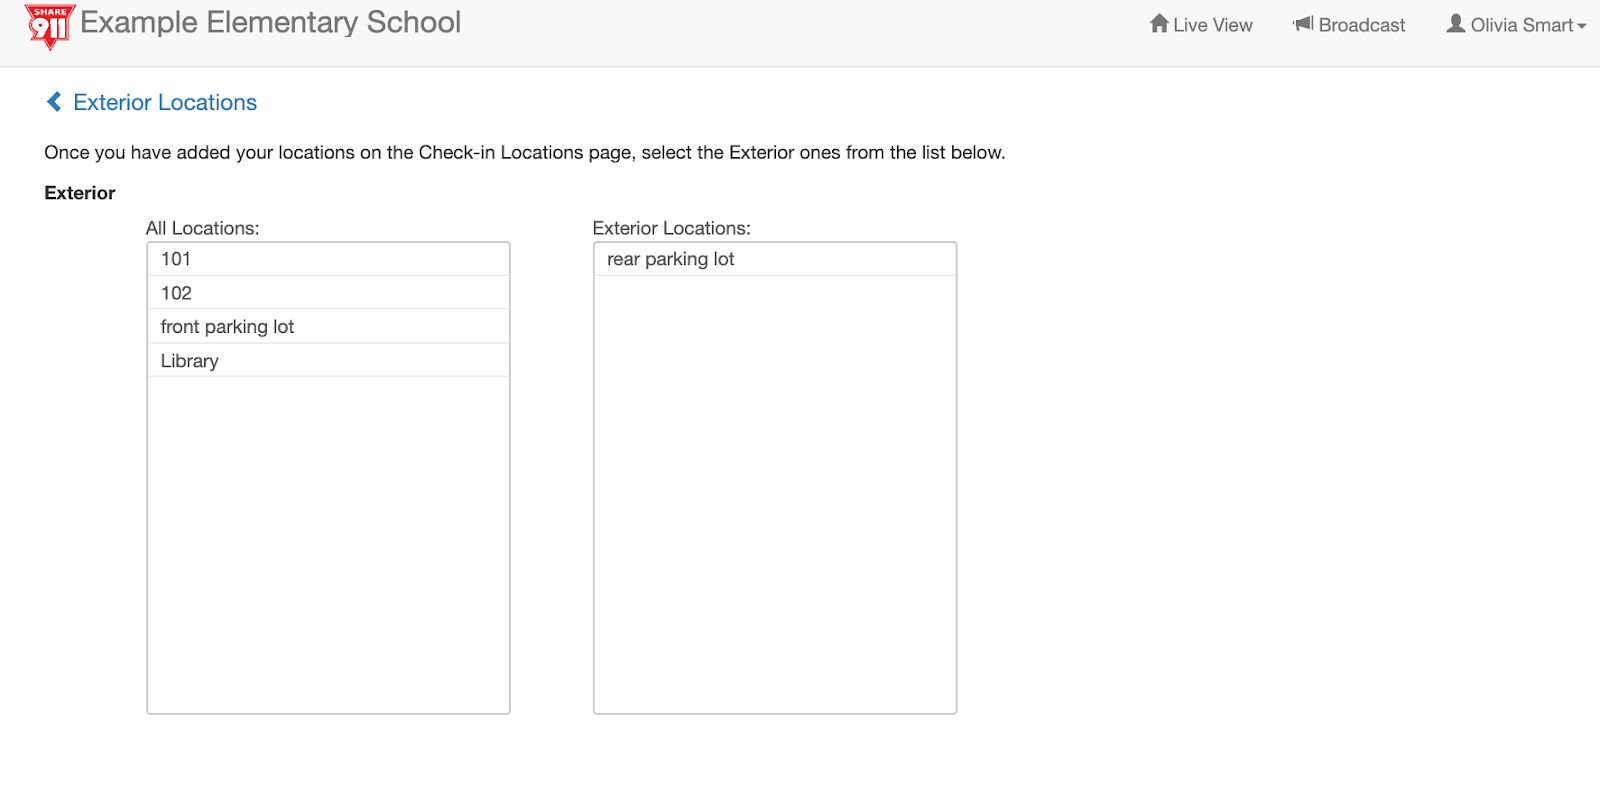
For exterior locations, go back to the Locations Dashboard and select Exterior Locations. All of the locations you added to your channel will be listed in the column on the left. Simply click on the exterior locations and they will move to the column on the right. Updates will autosave on this page.